
Lawn
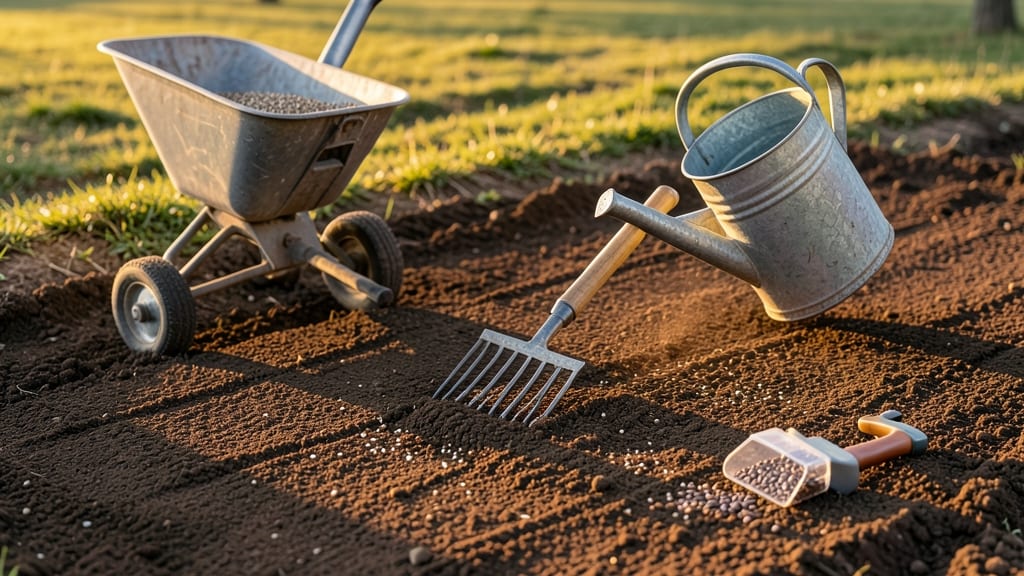
The best way to put grass seed down transforms patchy lawns into lush carpets within weeks. 🌱 I’ve seen bare spots vanish completely when done right—no more guessing about seed depth or spacing. The secret lies in preparing the soil, distributing seed evenly, and keeping moisture consistent from day one.
Start by mowing low (about 1 inch high) and removing debris—this gives new seeds direct contact with soil. Then loosen the top ¼ inch of soil with a rake or aerator, creating tiny grooves where seeds nestle.
For cool-season grasses, aim for late summer to early fall planting; warm-season grasses prefer late spring when soil temps hit 65°F.
Spread seed in two directions (first north-south, then east-west) for even coverage, using ⅓–½ pound per 100 sq ft for most grasses. Lightly rake again to bury seeds ¼ inch deep, then water gently to settle soil without washing seeds away.
Keep the area moist like a damp sponge for the first 2–3 weeks—this is where most failures happen.
Within 10–14 days, you’ll see sprouts breaking through, and in 6–8 weeks, your lawn will be thick enough to mow. The layered method works for both cool-season (like Kentucky bluegrass) and warm-season (like Bermuda grass) varieties, adapting to your climate’s growing window.
📚 In This Guide
- What you need
- Instructions
- Tips and common mistakes
- Wrapping up and next steps
What you need
- ● High-quality grass seed: Choose a blend suited to your climate and lawn use (e.g., cool-season for northern regions or warm-season for southern areas). Aim for 5–10 lbs per 1,000 sq ft, depending on seed type and coverage needs.
- ● Lawn fertilizer: A starter fertilizer with a high phosphorus content (e.g., 5-10-5 or 10-20-10 ratio) to promote root development. Use ½ lb per 100 sq ft.
- ● Topsoil or compost: ¼–½ inch layer to improve seed-to-soil contact and nutrient availability.
- ● Rake (bow or stiff-bristle garden rake): For leveling soil and removing debris. A wide-bow rake (24–36 inches) works best for large areas.
- ● Broadcast spreader: A drop or rotary spreader for even seed distribution. Calibrate it for your seed type (most require ¼–½ lb per 1,000 sq ft per setting).
- ○ Lawn roller (optional but helpful): A lightweight (30–50 lb) roller to press seed into soil gently.
- ● Water source (hose or sprinkler): A fine-mist nozzle or soaker hose for gentle, consistent watering.
- ○ String and stakes (optional): To mark sections for even spreading if your lawn is large.
- ● Prepped soil: Clear debris, loosen compacted areas, and repair low spots. Soil pH should be 6.0–7.0 (test with a soil kit if unsure).
- ● Weather window: Seed in spring or early fall when temps are 60–75°F and rain is forecasted for the first 2 weeks.
- ● Time commitment: Plan for 1–2 hours per 500 sq ft for prep, seeding, and initial watering.
Step-by-Step instructions for layering grass seed for perfect germination
Here's the method I've used to create lush, even lawns—no bare patches or over-seeding.
🌱 Step 1: Prepare the Soil Surface for Optimal Seed Contact
Start by raking the bare soil until it's smooth and free of debris. You want a fine, crumbly texture—like freshly tilled garden soil—that lets seeds make direct contact with moisture. I use a stiff-bristled rake to break up any clumps, then drag it in one direction to create a uniform surface. This prevents seeds from settling into low spots where they'll suffocate.
Check for rocks larger than a quarter—remove them now. Large stones create uneven germination zones and can smother emerging seedlings. If your soil feels compacted, go over it one last time with a hand rake to loosen the top ¼ inch. The goal is to mimic the texture of a well-aerated seedbed.
💧 Step 2: Apply a Thin Starter Layer of Soil or Compost
Spread a ¼-inch layer of your prepared topsoil or compost over the raked area. This creates a perfect seedbed that holds moisture while allowing roots to penetrate easily. I use a push broom to distribute it evenly—any thicker, and you'll smother the seeds. For slopes, work in small sections to prevent the layer from sliding.
Lightly tamp this layer with the back of a rake or your boot to eliminate air pockets. You want it firm enough to support seedlings but not packed like clay. This step is crucial—it prevents seeds from floating to the surface when you water. Think of it as creating a soft, welcoming mattress for your grass seeds.
☀️ Step 3: Distribute Seed Evenly Using the Layered Technique
Measure out your grass seed and divide it into four equal portions. Walk across the area in one direction, scattering the first portion evenly. Then turn 90 degrees and repeat with the second portion. This cross-pattern ensures complete coverage without clumping. I swear by this method—it eliminates the "streaky" look from single-direction seeding.
For 4,000 sq ft, you'll need about 8-12 lbs of seed (check your seed bag). Lightly rake the area again to work seeds into the top ¼ inch of soil. This ensures good soil contact while keeping them from being buried too deep. If you see bare spots after raking, add a few extra seeds by hand.
🪴 Step 4: Apply a Thin Top Dressing of Soil or Mulch
Spread another ¼-inch layer of soil or a specialized grass seed starter mix over the seeded area. This protects seeds from drying out and predatory birds. I use a push spreader for large areas to maintain consistent thickness. For slopes, work in 2-foot squares to prevent erosion from watering.
Gently press this layer down with your rake—just enough to eliminate surface air pockets. The final soil layer should feel like a well-trodden garden path: firm but not compacted. This step is where most people go wrong by adding too much soil, which suffocates seeds. Remember: grass seeds only need ¼ inch of coverage to germinate properly.
⏰ Step 5: Water Gently and Maintain Consistent Moisture
Water immediately after seeding with a fine mist setting on your sprinkler or hose. The soil should stay damp but never soggy—like a wrung-out sponge. I set a timer for 10-15 minutes of light watering, then check the top inch of soil. It should feel moist but not dripping.
For the next 10-14 days, water daily to keep the top 2 inches of soil consistently moist. Grass seeds need steady hydration to germinate, but too much water can wash them away or cause rot. You'll know you're doing it right when the soil surface stays dark and uniformly damp. Avoid heavy watering that creates puddles—this can bury seeds too deeply.
Tips & tricks for perfect grass seed germination
These game-changing techniques ensure your grass grows thick and even from the very first sprouts.
Soil Texture Matters: In Step 1, when you're raking, aim for a texture that resembles fine sand—no clumps, no hardpan. I've learned the hard way that compacted soil blocks moisture and oxygen, which are critical for germination. Use a stiff-bristled rake to create a uniform, crumbly surface that lets seeds nestle just right. For extra aeration, drag a garden fork lightly over the area before raking to break up any hidden compaction.
Layering Precision: The key to this method is maintaining those ¼-inch layers throughout Steps 2 and 4. I recommend using a straight-edged board or ruler to verify thickness—any thicker and you'll smother seeds, any thinner and they'll dry out. For slopes, work in 2-foot sections to prevent the soil from sliding during application. This attention to layering is what separates a patchy lawn from a lush carpet of grass.
Watering Wisdom: That 10-15 minute initial watering in Step 5 is crucial—set a timer and don't skip it! The goal is to saturate the top 2 inches without creating puddles. I use a rain gauge to measure water output from my sprinkler to ensure consistent coverage. After the first watering, check the soil daily by pressing your finger an inch down—it should feel like a damp sponge, not a dripping wet rag.
Pro Tips for Best Way To Put Grass Seed Down
- These game-changing techniques ensure your grass grows thick and even from the very first sprouts.
- Soil Texture Matters: In Step 1, when you're raking, aim for a texture that resembles fine sand—no clumps, no hardpan...
- Layering Precision: The key to this method is maintaining those ¼-inch layers throughout Steps 2 and 4. I recommend u...
Frequently asked questions
Got questions about seeding your lawn? You’re not alone! Here are answers to the most common concerns—so you can tackle your project with confidence.
When is the best time to plant grass seed?
The ideal window is early fall (late August to October) or early spring (March to May). These periods offer cooler temps, steady moisture, and fewer weeds. Avoid seeding in extreme heat or drought—seedlings need consistent hydration to thrive!
How long does it take for grass seed to germinate?
Germination time varies by grass type: cool-season grasses (like fescue or bluegrass) sprout in 7–21 days, while warm-season grasses (like Bermuda or Zoysia) take 10–30 days. Keep soil moist (not soggy) and check the seed packet for specifics!
Do I need to water before putting down grass seed?
Yes! Moisten the soil 1–2 days before seeding to help seeds make contact with damp earth. After sowing, water lightly but frequently (2–3 times daily) to keep the top inch of soil consistently moist until germination. A sprinkler or gentle hose works best—avoid blasting seeds away!
Can I use straw or mulch to help grass seed grow?
Lightly spread straw (not hay) over seeded areas to retain moisture, block weeds, and protect seedlings. Use ¼-inch layers—too much can smother growth. Remove straw once grass reaches 3–4 inches tall to avoid competition.
What if my lawn has weeds or bare spots?
First, remove weeds by hand or with a pre-seeding herbicide (like corn gluten meal). For bare spots, loosen soil with a rake, add compost, and seed as usual. If weeds persist after germination, spot-treat with vinegar or a natural herbicide once grass is established.
Why isn’t my grass seed growing?
Check these common culprits:
- Poor soil contact: Rake seeds into soil lightly to ensure they touch moist earth.
- Inconsistent watering: Seedlings need steady moisture—drought or overwatering can kill them.
- Wrong grass type: Match your seed to your climate (e.g., Kentucky bluegrass for cool regions).
- Birds or pests: Cover seeds with netting temporarily if critters are a problem.
Wrapping up and next steps
You’ve got everything you need to transform your lawn into a lush, green carpet! The key to success lies in preparing the soil, choosing the right seed, and using the layered technique for even coverage and germination.
With patience and the right approach, your efforts will pay off in a vibrant, healthy lawn that’s the envy of the neighborhood.
Now that you’re armed with knowledge, it’s time to roll up your sleeves and take action! Start by picking a perfect day—when the weather is mild and rain is in the forecast—and begin your project. Happy seeding! 🌱✨