
Lawn
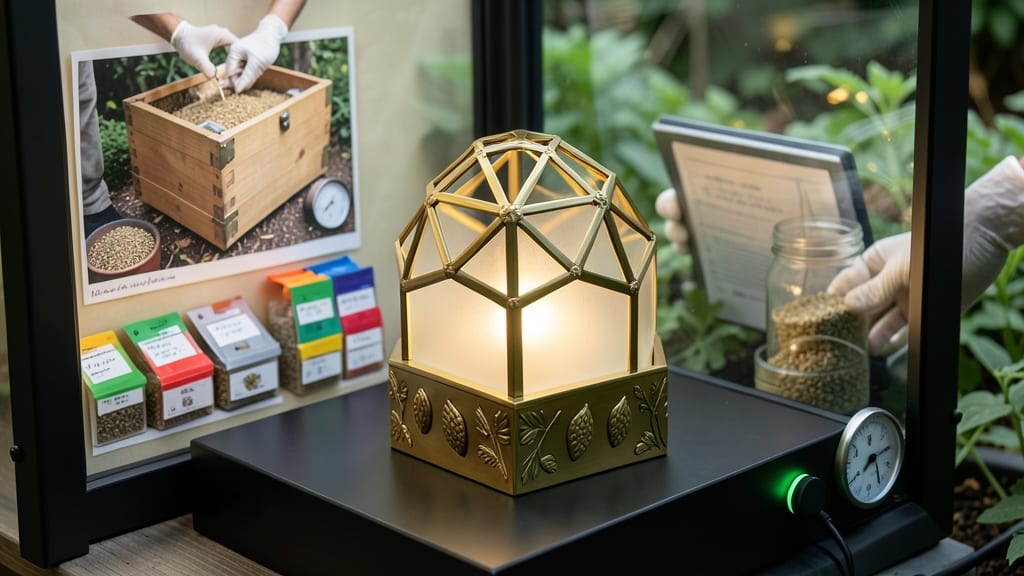
Garden seed banks are the unsung heroes of gardening sustainability. 🌱 I’ve saved seeds for years, and these simple packets keep them viable for decades—far longer than store-bought seeds last on shelves. The real magic? You’re preserving biodiversity, heirloom varieties, and even family traditions in every envelope you store.
Most gardeners focus on saving tomato or bean seeds, but the system works for almost any vegetable, flower, or herb. All you need are dry seeds, labeled envelopes, and a cool, dark spot.
My first batch of heirloom beans lasted 12 years—longer than I expected, and exactly what makes seed banks so powerful for self-sufficiency.
Beyond cost savings, you’re building a living archive. Imagine never buying seeds again, growing exactly what you love, and knowing your harvest traces back to seeds you saved.
The process is simple: dry seeds thoroughly, store them in airtight envelopes, and check viability every few years with a basic germination test.
Public seed banks offer backup resources, but your home collection becomes your garden’s lifeline. Start small—save one variety this year—and watch how quickly it transforms your gardening independence. The best part? Every seed you save is a vote for the future of food diversity.
📚 In This Guide
- What you need
- Instructions
- Tips and common mistakes
- Wrapping up and next steps
What you need
- ● Paper Envelopes: 100+ kraft paper or archival-quality envelopes (4" x 6" to 5" x 7" size). Avoid plastic—it traps moisture!
- ○ Optional: Labeling space or a separate seed inventory sheet (see below).
- ● Seeds: Dried, fully mature seeds (harvested at peak viability). Aim for 50–100 seeds per envelope for heirloom varieties.
- ● Desiccant Packets: 5–10 silica gel or rice-based moisture absorbers (place 1–2 per envelope to prevent mold).
- ● Labeling Tools: Permanent markers (e.g., Sharpie or archival ink pen) or a printable seed label template.
- ○ Optional: Sticky notes or waterproof tags for extra durability.
- ● Storage Containers: Airtight plastic bin (e.g., 5-gallon bucket with a lid) or a metal tin for bulk storage.
- ○ Optional: Vacuum-sealed bags for ultra-long-term preservation (10+ years).
- ● Climate Control: Cool, dark space (e.g., basement, closet, or seed vault) with stable humidity (30–50%).
- ○ Optional: Hygrometer to monitor moisture levels.
- ● Basic knowledge of seed drying techniques (e.g., air-drying for 1–2 weeks before storage).
- ○ Access to a seed viability test kit (optional but recommended for testing stored seeds annually).
- ● Patience! Properly stored seeds can last 5–30 years (or longer for some varieties).
Step-by-Step guide to creating a reliable garden seed bank
Preserving seeds properly ensures you'll have healthy plants for seasons to come.
🌱 Step 1: Harvest Seeds at Peak Maturity
Collect seeds only when they've fully matured—this means waiting until the pods dry completely on the plant. For example, tomato seeds should come from deep red, fully ripe fruit, while beans are ready when their pods turn brown and crisp. Harvest on a dry day to prevent mold, and avoid seeds that show signs of pest damage or disease.
Use clean, dry scissors or pruners to cut seed heads or pods directly from the plant. Place them in a paper bag or envelope immediately to prevent moisture buildup. Label each bag with the plant variety and harvest date right away—seeds from different plants can look identical, and you'll forget what you grew by next spring.
💧 Step 2: Dry and Clean Seeds Thoroughly
Spread seeds in a single layer on a clean, dry surface like a paper towel or mesh screen. Place them in a warm, dry spot with good airflow—avoid direct sunlight, which can overheat and damage seeds. Stir them gently every few days to ensure even drying. Most seeds will be ready in 7-14 days when they feel dry to the touch and no longer stick together.
For seeds still attached to chaff or pulp (like tomatoes or peppers), ferment them in a jar of water for 3-5 days. This removes the gel-like coating that inhibits germination. Stir daily, then scoop out the seeds, rinse them, and spread them to dry. Once completely dry, store them in a cool, dark place for an additional 2-3 days before packaging.
✂️ Step 3: Package Seeds in Airtight, Moisture-Proof Envelopes
Use paper envelopes for short-term storage (up to 5 years) or glass jars with desiccant packets for long-term viability (up to 20+ years). For envelopes, fold them into thirds and seal with a staple or wax seal. Label each with the seed variety, harvest year, and germination test date—this keeps your seed bank organized and functional.
Store envelopes in a cool, dark place with 35-40% humidity and temperatures between 32-41°F. A refrigerator or root cellar works well, but avoid the freezer—temperature fluctuations can damage seeds. Group related varieties together (e.g., all tomatoes in one box, all herbs in another) to make future planting easier.
🌿 Step 4: Test Germination Periodically
Every 1-2 years, conduct a germination test to ensure your seeds are still viable. Moisten a paper towel, place 10 seeds in a single layer, and fold it in half. Seal the towel in a plastic bag and keep it in a warm (70-75°F) spot. Check for sprouts in 7-14 days—if 80% or more germinate, your seeds are still good. If fewer than 50% sprout, consider saving only the best seeds or sourcing fresh ones.
Discard any seeds that fail the test or show signs of mold, pests, or discoloration. Replace them with fresh stock to maintain a high-quality seed bank. Rotate older seeds out first—this ensures you always have viable options for planting. Keep a log of test results to track seed longevity over time.
Tips & tricks for perfect garden seed banks
Took me years of trial and error to perfect these seed-saving strategies—here's how to avoid common pitfalls and maximize your seed bank's longevity.
Maturity Matters: In Step 1, when harvesting seeds, look for these visual cues: tomato seeds should come from fruit that's fully colored and slightly soft to the touch, while bean pods should rattle when shaken. I learned this the hard way after trying to save seeds from underripe tomatoes—those won't germinate properly. Harvest in the morning after the dew has dried to prevent moisture buildup in your collection bags.
Drying Secrets: The 7-14 day drying period in Step 2 is crucial—don't rush it! Place your drying tray near a fan to create gentle airflow without direct heat. For seeds with pulp (like tomatoes), the 3-5 day fermentation step is non-negotiable. I once skipped this and ended up with seeds that refused to sprout. After fermenting, rinse seeds thoroughly to remove all residual pulp, which can cause mold during storage.
Storage Wisdom: When packaging seeds in Step 3, use silica gel packets (available at craft stores) inside your glass jars to maintain that critical 35-40% humidity level. I've had seeds last over 15 years using this method. For paper envelopes, fold them into thirds and seal with a wax seal—this creates a better barrier than staples alone. Store envelopes in a dedicated seed bank box with dividers to prevent crushing.
Germination Test Insight: The 1-2 year germination test in Step 4 reveals more than just viability—it shows you which varieties maintain strength over time. I test my seeds every year and keep a spreadsheet tracking results. If germination drops below 70%, I replace those seeds immediately. The 70-75°F warm spot for testing can be a simple seedling heat mat placed under a tray on your counter.
Pro Tips for Garden Seed Banks
- Took me years of trial and error to perfect these seed-saving strategies—here's how to avoid common pitfalls and maxi...
- Maturity Matters: In Step 1, when harvesting seeds, look for these visual cues: tomato seeds should come from fruit t...
- Drying Secrets: The 7-14 day drying period in Step 2 is crucial—don't rush it! Place your drying tray near a fan to c...
Frequently asked questions
Got questions about storing seeds in paper envelopes?
You’re not alone! Here are answers to the most common concerns—so you can preserve your garden treasures with confidence.
How long can seeds stored in paper envelopes last?
With proper conditions (cool, dry, dark), many seeds—especially vegetables—remain viable for 3–5 years in paper envelopes. Some, like beans or peas, may last even longer! Always label with the harvest date to track freshness. Check our seed viability chart for specifics.
What’s the best temperature and humidity for long-term storage?
Keep envelopes in a cool (32–41°F), dry (30–50% humidity) space, like a fridge or root cellar. Avoid basements or attics—moisture and temperature swings speed up seed deterioration. A small silica gel packet in the container adds extra protection.
Can I use paper envelopes for all types of seeds?
Paper works well for small seeds (flowers, herbs, veggies), but large or irregular seeds (like corn or sunflower) need sturdier containers (e.g., glass jars). For delicate seeds (e.g., orchids), pair envelopes with moisture absorbers to prevent mold.
How do I test if old seeds will still germinate?
Do a germination test: Moisten a paper towel, place 10 seeds inside, fold, and seal in a plastic bag. Check for sprouts in 5–7 days. If 80%+ sprout, your seeds are still good! Adjust planting depth based on seed size—small seeds need light, while larger ones go deeper.
What’s a good alternative if I don’t have paper envelopes?
Use airtight containers (glass jars, Mylar bags with oxygen absorbers) for extra longevity. Label with a seed-saving sheet (include variety, date, and location). For bulk storage, vacuum-sealed bags work too—just ensure they’re completely sealed to block moisture.My seeds smell musty—what went wrong?
Musty odors signal moisture or mold. Discard affected seeds immediately. To prevent this, never store seeds in plastic alone (traps humidity). Instead, use paper + breathable fabric or add a desiccant. Store in a glass jar with a loose lid for airflow.
Wrapping up and next steps
Preserving seeds in paper envelope packets is a simple yet powerful way to safeguard your garden’s future! With the right materials, storage conditions, and a little care, you can ensure long-term viability for years—or even decades—to come.
Whether you're a seasoned gardener or just starting out, your seed bank is a gift to future harvests.
Ready to take the next step? Start by labeling and organizing your seeds today, then explore creative ways to expand your collection—like swapping with fellow gardeners or saving seeds from heirloom varieties. Happy growing! 🌱