
Lawn
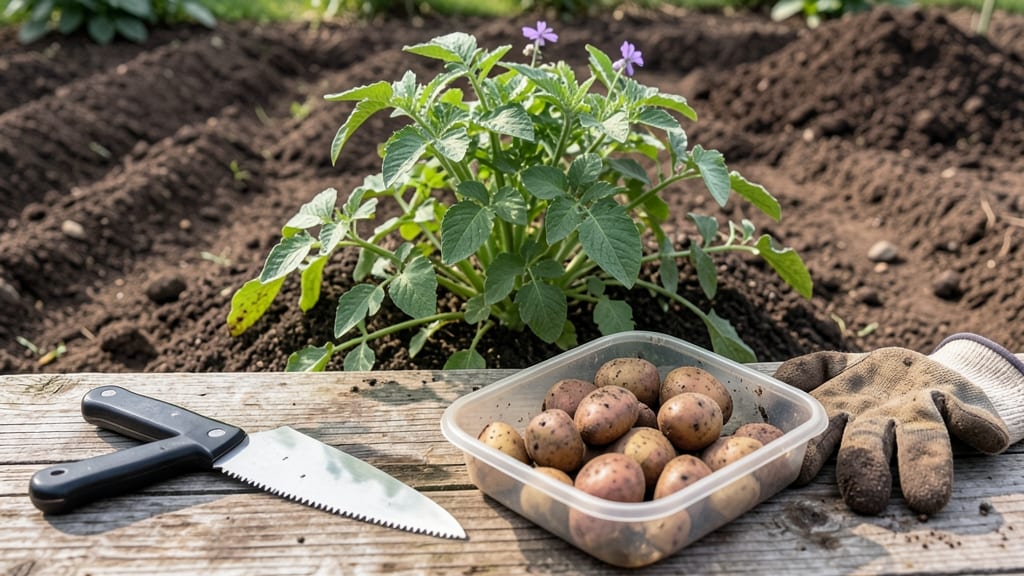
Cutting seed potatoes correctly means the difference between even, healthy sprouts and stunted, uneven growth. ✂️ I’ve learned that a sharp knife and proper technique prevent disease while maximizing planting efficiency—something I wish I’d known before my first failed batch of lumpy, uneven tubers.
The key is working with disease-free seed potatoes and cutting them into 2-ounce pieces with at least two "eyes" (sprouts) per piece. Let the cut pieces heal for 24-48 hours in a cool, dark place before planting—this simple step prevents rot and ensures strong root development.
You’ll end up with uniform, vigorous plants that emerge from the soil at the same time, creating a tidy, high-yielding bed. The right cuts also mean fewer potatoes wasted—no more tossing unusable scraps or struggling with overcrowded hills.
Whether you’re a beginner or a seasoned grower, mastering this technique saves time, improves yields, and keeps your garden looking its best. Let’s get those knives sharp and those sprouts growing!
📚 In This Guide
- What you need
- Instructions
- Tips and common mistakes
- Wrapping up and next steps
What you need
- ● Seed potatoes: Choose certified disease-free potatoes with at least 2-3 eyes (sprouts) each. Aim for 1-2 pounds per 10 feet of garden row (adjust based on variety and soil quality).
- ● Sharp knife or pruning shears: A clean, stainless-steel knife (like a chef’s knife or a dedicated potato cutter) works best. Avoid dull tools—they crush the potato and spread disease.
- ● Cutting surface: A wooden board, plastic tray, or clean cutting mat to protect your countertop and prevent contamination.
- ● Disinfectant: Rubbing alcohol (70% or higher) or bleach solution (1 part bleach to 9 parts water) to sterilize your knife and surface before and after cutting.
- ● Paper towels or newspaper: For drying cuts and absorbing excess moisture.
- ● Planting container or garden bed: Well-draining soil with organic matter (compost or aged manure) mixed in. Aim for a depth of 6-12 inches for optimal root growth.
- ● Potato cutter: A dedicated potato cutter with adjustable blades for even slices (great for large batches!).
- ● Hydrogen peroxide (3%) or cinnamon: Lightly dusting cuts with cinnamon or rinsing with hydrogen peroxide can help prevent rot and fungal growth.
- ● Planting markers or labels: If growing multiple varieties, use biodegradable labels to track what’s what.
- ● Garden twine or mesh bags: For storing cut potatoes in a cool, dark place (40–50°F) until planting (3–4 weeks max).
- ● Gloves: Nitrile or latex gloves to protect your hands from dirt and potato sap.
Step-by-Step instructions for cutting seed potatoes
Here's my foolproof method for slicing seed potatoes—sharp tools and clean cuts mean stronger, more uniform sprouts.
🪴 Step 1: Select and Prepare Healthy Seed Potatoes
Choose firm, disease-free seed potatoes with at least 2-3 eyes (the little dimples where sprouts emerge). Avoid any with soft spots, mold, or green patches—those won’t grow well. I like to work with potatoes that have already started sprouting, as they’re ready to go right away.
Rinse each potato under cool water to remove any dirt or debris. Pat them dry with a clean towel, then place them on a stable cutting surface. This ensures you’re starting with the healthiest stock possible and prevents contamination when you slice.
✂️ Step 2: Use a Sharp Knife for Clean Cuts
Grab a clean, sharp knife—I prefer a chef’s knife or a serrated bread knife for this task. A dull blade crushes the potato tissue, which can lead to rot or uneven growth. Hold the potato firmly and cut it into pieces, ensuring each section has at least 1-2 eyes and 1-2 inches of flesh around them.
I aim for 2-3 pieces per potato, depending on size. Avoid cutting too close to the eyes—leave at least ½ inch of potato tissue around each sprout. This gives the new plant enough energy to establish roots before sending up shoots.
💧 Step 3: Let Cuts Dry Before Planting
Once you’ve cut the potatoes, place the pieces on a clean, dry surface in a single layer. Let them sit for 24-48 hours in a cool, dark place. This allows the cut edges to form a protective callus, which reduces the risk of rot when you plant them.
During this time, you’ll notice the cut surfaces start to look slightly dry and slightly hardened. This is your signal that they’re ready for planting. If you plant them too soon, the exposed flesh can absorb too much moisture and rot in the soil.
☀️ Step 4: Plant Cut Potatoes for Even Sprouting
When the cut edges have callused over, it’s time to plant. Dig small trenches or holes in your garden bed, about 4-6 inches deep, spaced 12-15 inches apart. Place the cut pieces in the soil with the eyes facing upward—this ensures the sprouts grow toward the light.
Cover the potatoes with about 2-3 inches of soil and water gently. I like to mulch lightly afterward to retain moisture and keep the soil warm, which encourages faster sprouting. Within 2-3 weeks, you should see green shoots breaking through the soil.
🌱 Step 5: Monitor for Strong, Uniform Growth
After planting, keep the soil consistently moist but not soggy. You’ll know it’s the right moisture level when the top inch of soil feels damp to the touch. Avoid overwatering, as this can cause the potatoes to rot before they sprout.
Watch for even growth—if some pieces sprout faster than others, it might mean they had more eyes or were cut slightly differently. If you notice any weak or leggy sprouts, you can gently bury them with a little extra soil to encourage stronger stems.
Tips & tricks for perfect seed potato cutting
Common pitfalls—and how to sidestep every one—when slicing seed potatoes for planting. The right technique ensures vigorous sprouts and a healthy harvest.
Tool Selection: A serrated bread knife works best for Step 2 because it glides through potato skin without tearing. If you don't have one, a chef's knife with a sharp edge is fine—but keep it razor-sharp. I learned this the hard way after ruining three batches with a dull blade that crushed the potato tissue. The key is to cut through the skin cleanly to prevent rot at the planting stage.
Eye Distribution: When dividing potatoes in Step 2, aim for each piece to have at least one strong eye. If a potato has three eyes, you can create two pieces with one eye each and one piece with two eyes. This ensures even growth—pieces with multiple eyes tend to produce larger plants. I always check for the most vigorous-looking sprouts when deciding where to make my cuts.
Callusing Check: The 24-48 hour drying period in Step 3 is non-negotiable. Look for the cut surfaces to develop a slightly papery texture—this is your callus forming. If you're short on time, you can reduce this to 12 hours in a cool, dry place, but the longer callusing period significantly reduces rot risk. I've found that placing the cut potatoes on a wire rack in a dark pantry works perfectly for this step.
Planting Depth: In Step 4, the 4-6 inch planting depth might seem deep, but it's crucial for preventing rot. The deeper planting protects the potatoes from temperature fluctuations and pests. If you're planting in containers, use at least 12 inches of soil depth to accommodate the full potato size. I've had the best success with a 6-inch depth for most varieties, which gives the sprouts enough room to establish before emerging.
Pro Tips for Cut Seed Potatoes For Planting
- Common pitfalls—and how to sidestep every one—when slicing seed potatoes for planting. The right technique ensures vi...
- Tool Selection: A serrated bread knife works best for Step 2 because it glides through potato skin without tearing. I...
- Eye Distribution: When dividing potatoes in Step 2, aim for each piece to have at least one strong eye. If a potato h...
Frequently asked questions
Got questions about cutting seed potatoes? You’re not alone! Here are answers to the most common concerns—from timing to troubleshooting—to help you plant like a pro.
When is the best time to cut seed potatoes before planting?
Cut your seed potatoes 1-2 weeks before planting (usually 2-4 weeks before the last frost date). This gives the cut pieces time to develop calloused edges—preventing rot—while still encouraging healthy sprouts. Store them in a cool, dark, and humid spot (like a paper bag) until ready to plant.
Can I use any knife to cut seed potatoes, or do I need a specific tool?
A sharp, clean knife (like a chef’s knife or pruning shears) works best—just sanitize it with rubbing alcohol first to avoid spreading disease. Avoid dull knives, as they crush the potato, increasing rot risk. For large batches, a serrated knife or potato cutter (designed for this task) can save time and effort.
What if my cut potatoes don’t sprout after a few weeks?
Don’t panic! If sprouts aren’t appearing, check these fixes:
- Light exposure: Place them in a bright, indirect spot (like a sunny windowsill) to encourage growth.
- Temperature: Keep them between 45–60°F (7–15°C)—too cold or hot can stall sprouting.
- Humidity: Spritz with water if the cut edges look dry; a damp paper towel can help.
Can I reuse leftover seed potatoes from last year’s harvest?
Yes! Certified seed potatoes (bought from nurseries) are ideal, but organic, disease-free homegrown potatoes can work too. Avoid cutting potatoes treated with sprout inhibitors (common in grocery-store spuds)—they won’t grow. For best results, chit (pre-sprout) them indoors first to ensure vigor.
What’s the best way to store cut seed potatoes until planting day?
Store them in a cool (45–50°F / 7–10°C), dark, and humid environment (like a cardboard box with a damp towel). Avoid refrigeration—it converts starch to sugar, causing sweet rot. Check them weekly, removing any that soften or mold. For extra protection, dust cut edges with cinnamon powder (natural antifungal) or charcoal.
My cut potatoes are turning black or mushy—what went wrong?
This is likely oxidation (normal for cut surfaces) or rot from bacteria/fungus. To prevent it:
- Let cuts air-dry for 1–2 hours before storing to form a protective layer.
- Avoid overcrowding in storage containers.
- Use sterilized tools and discard any potatoes with soft spots or foul smells.
Wrapping up and next steps
Cutting seed potatoes the right way is your secret weapon for a bountiful harvest!
With the sharp knife technique, you’ll ensure even sprouts, healthier plants, and more potatoes in your future garden. 🌱✨ Now that you’re armed with the knowledge, there’s only one thing left to do: grab those spuds and get planting! Start small, experiment with different varieties, and watch your garden thrive.
Ready to take the next step? Plan your planting schedule based on your climate and potato variety—then dig in and enjoy the rewards of your hard work!