
Lawn
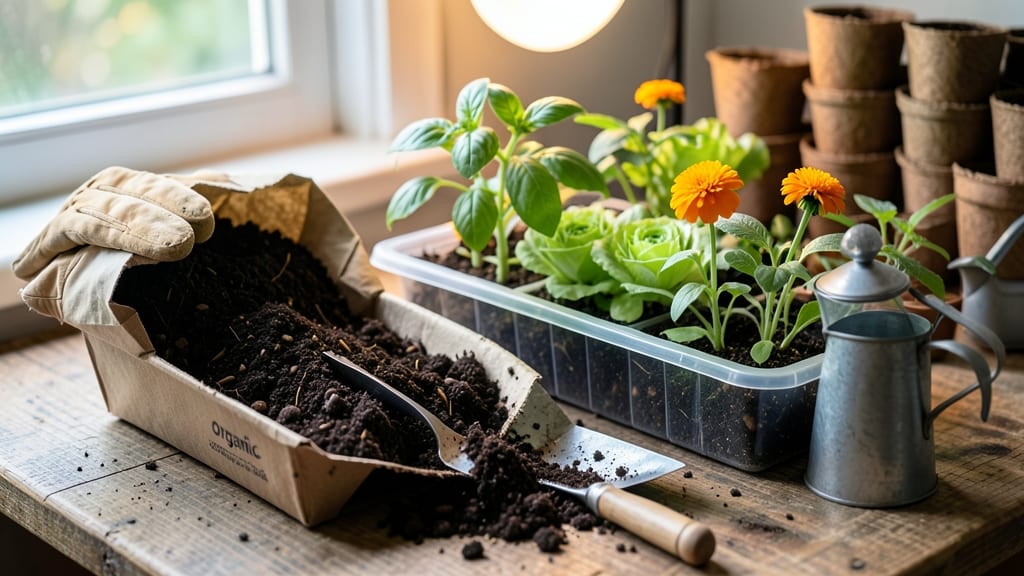
My organic seed starter soil mix is the game-changer that turned my slow-to-germinate seeds into seedlings within days—not weeks. 🌱 The secret isn’t just compost and peat; it’s the perfect balance of air pockets, moisture retention, and nutrients that tiny roots crave.
I’ve killed more seedlings than I’d like to admit, but this mix finally gave me the reliable starts I’ve been chasing. Start with coconut coir for water-holding power, then add perlite to keep roots breathing—no more soggy, moldy messes.
A handful of worm castings feeds those first hungry sprouts, and a sprinkle of mycorrhizal fungi boosts root growth from day one. Store-bought blends work, but DIY lets you tweak the texture for your climate (drier mixes for hot zones, extra moisture for cool ones).
You’ll see firm, dark-green seedlings in half the time, with fewer leggy stretchers and no damping-off disease. The mix stays loose enough to transplant without breaking roots, so those early starts don’t shock when they hit the garden. Confidence builds when your seeds behave—and this soil delivers every time.
For outdoor starts, mix in a bit of sand to improve drainage, and for heat-loving crops like peppers, add a dash of biochar to regulate temperature. Whether you’re a first-timer or a seasoned grower, this blend cuts the guesswork out of seed starting. Let’s get those seeds sprouting!
📚 In This Guide
- What you need
- Instructions
- Tips and common mistakes
- Wrapping up and next steps
What you need
- ● Organic compost – 50% of the mix (2 parts by volume). Look for well-aged compost to avoid overheating seeds.
- ● Peat moss or coconut coir – 25% of the mix (1 part by volume). Provides moisture retention and aeration.
- ● Perlite or vermiculite – 25% of the mix (1 part by volume). Ensures lightweight, fast-draining soil for delicate roots.
- ● Worm castings – 1 cup per 5 gallons of mix. Boosts nutrient density and microbial activity.
- ○ Optional: Biochar – ½ cup per 5 gallons. Enhances water retention and soil structure.
- ● Large mixing bin or wheelbarrow (for combining ingredients).
- ● Garden trowel or small shovel (for stirring).
- ● Measuring cups or containers (to ensure proper ratios).
- ● Glove and dust mask (for handling peat moss or perlite).
- ○ Optional: pH testing kit (to check soil acidity, ideal range: 6.0–7.0).
- ● Access to a clean, dry workspace (outdoor patio or garage works great!).
- ● Seed trays, pots, or biodegradable seed starter cups (if not already on hand).
- ● Time to let the mix settle (24–48 hours before planting for optimal moisture balance).
How to create lightweight organic seed starter soil for rapid germination
Here's my go-to blend for fast, healthy starts—light enough to prevent damping-off while retaining just enough moisture for quick germination.
🌱 Step 1: Select the Base Components
Start with 50% peat moss or coconut coir—this gives the perfect air-to-moisture balance without compacting. I use 25% perlite for drainage and 25% compost for nutrients. The peat holds moisture while the perlite prevents soggy roots, and compost feeds seedlings right from the start.
Sift all materials through a ¼-inch mesh screen to eliminate clumps. Large particles slow water absorption and can suffocate tiny roots. If you're using garden compost, age it for at least 6 months—fresh compost can burn seedlings with excess heat.
🌿 Step 2: Mix Thoroughly for Uniform Texture
Combine the peat moss, perlite, and compost in a large bucket or wheelbarrow. Use a sturdy garden fork or shovel to blend until the mix looks fluffy and uniform—no streaks of any single component. I like to add 1 tablespoon of worm castings per gallon of mix for extra microbial activity.
Test the texture by squeezing a handful. It should hold its shape when pressed but crumble easily—like damp sand. If it sticks together too tightly, add more perlite. If it falls apart completely, mix in a bit more peat moss. This balance is critical for fast germination.
💧 Step 3: Moisten Without Overwatering
Water the mix gradually using a fine-mist spray bottle until it reaches 60-70% moisture—just damp enough that it clumps when squeezed but doesn’t drip. Overwatering now will create anaerobic pockets where seeds rot before sprouting. I like to let it sit for 10 minutes after watering to let excess moisture distribute evenly.
Fill your seed trays or pots with the moistened mix, pressing down lightly to eliminate air pockets. Leave ½ inch of space at the top for seeds and watering. This prevents seeds from floating to the surface or getting buried too deep.
✂️ Step 4: Sterilize for Disease Prevention
To kill any pathogens, microwave the mix in 1-minute increments (stir between each) until it reaches 160°F internally. This is gentler than baking and preserves the mix’s structure. Let it cool completely before use—hot soil can scorch seeds.
If you prefer a chemical-free approach, bake the mix at 200°F for 30 minutes, then let it cool. Store any unused mix in a sealed container for up to 3 months. The sterilization step is non-negotiable—it’s the difference between fast germination and seedling loss.
☀️ Step 5: Optimize for Germination Speed
Keep the trays in a warm, humid environment—75-80°F is ideal. A seedling heat mat set to 70°F speeds up germination by 30-50%. Cover trays with clear plastic wrap to retain moisture, but remove it as soon as sprouts appear to prevent fungal growth.
Watch for first true leaves—this is your cue that germination is complete. Mist the soil surface daily with room-temperature water to maintain even moisture. Avoid bottom-watering at this stage; it can dislodge seeds or create uneven moisture levels.
Tips & tricks for perfect organic seed starter soil
A few simple adjustments can turn your seed starter mix from good to exceptional—let me share what I've learned after years of trial and error. The devil's in the details when it comes to germination speed and seedling health.
Texture is Everything: In Step 2, when you're blending your components, aim for a consistency that resembles damp sand—it should hold its shape when pressed but crumble easily. I've found that adding an extra 1 tablespoon of perlite per gallon of mix helps achieve this perfect balance, especially if your compost is particularly rich. This texture prevents compaction while still providing enough structure for delicate roots to establish. The 10-minute resting period after watering in Step 3 is also crucial—it allows moisture to distribute evenly throughout the mix rather than pooling at the bottom.
Sterilization Shortcuts: While the microwave method (1-minute increments to 160°F) is my go-to, I've discovered that a steamer basket placed over boiling water for 30 minutes works just as well for sterilization. This chemical-free approach preserves more of the soil's natural microbial communities while still effectively killing pathogens. Just be sure to let the mix cool completely before use—hot soil can actually cook your seeds rather than help them germinate.
Compost Quality Matters: The 6-month aging requirement for garden compost in Step 1 isn't just arbitrary—it's about heat management. Fresh compost can reach temperatures high enough to kill seeds through excess microbial activity. I've started composting my kitchen scraps in a dedicated bin for exactly 6 months before using it, and I've noticed a significant improvement in germination rates. For an extra boost, you can add ½ cup of biochar per gallon of mix after sterilization—it improves water retention and adds beneficial microbes.
Heat Mat Hack: When optimizing for germination speed in Step 5, I've found that placing your seedling trays on a seedling heat mat set to 70°F combined with a simple DIY humidity dome (clear plastic wrap over a wire frame) creates the perfect microclimate. This setup maintains the 75-80°F range while keeping humidity high enough to prevent moisture loss. The key is removing the plastic as soon as you see the first true leaves—this prevents fungal issues while still maintaining adequate humidity.
Pro Tips for Organic Seed Starter Soil
- A few simple adjustments can turn your seed starter mix from good to exceptional—let me share what I've learned after years of trial and error.
- Texture is Everything: In Step 2, when you're blending your components, aim for a consistency that resembles damp sand—it should hold its shape when pressed but crumble easily.
- Sterilization Shortcuts: While the microwave method (1-minute increments to 160°F) is my go-to, I've discovered that a steamer basket placed over boiling water for 30 minutes works just as well for sterilization.
Frequently asked questions
Got questions about organic seed starter soil? You’re not alone!
Here are answers to the most common concerns—from timing to troubleshooting—so you can grow confidently.
What’s the best time to use seed starter soil?
Use it anytime you’re sowing seeds indoors or outdoors! For cold climates, start 6–8 weeks before the last frost. For warm-season crops (like tomatoes or peppers), wait until soil temps hit 60°F+. Pro tip: Check seed packets for ideal germination temps—some need warmth, others prefer cooler conditions.
How long does seed starter soil last before it goes bad?
Unopened bags last 1–2 years if stored dry and cool. Once opened, use within 3–6 months (or until it loses fluffiness). If it smells musty, feels compacted, or grows mold, toss it. Store extra in a sealed container with a moisture absorber (like rice) to extend shelf life.
Can I make my own organic seed starter soil at home?
Mix 50% peat moss or coco coir (for moisture retention), 30% perlite or vermiculite (for aeration), and 20% compost or worm castings (for nutrients). Sterilize with boiling water or a microwave (1–2 mins) to kill pathogens. For a budget-friendly twist, blend kitchen scraps (like crushed eggshells) for calcium!
Why are my seeds rotting in the starter soil?
Overwatering or poor drainage are the top culprits. Ensure pots have drainage holes and water only when the top inch feels dry. If soil stays soggy, add sand or perlite to improve airflow. Also, avoid cold soil—keep trays on a heat mat (70–75°F) for fast germination. Fungal issues? Sprinkle cinnamon (natural antifungal) on the soil surface.
Can I reuse seed starter soil after transplanting seedlings?
Not recommended! After seedlings sprout, the soil depletes nutrients and may harbor pests/diseases. Compost it instead—it’s nutrient-rich! For a second round of seeds, amend with fresh compost or a light fertilizer (like fish emulsion). Or, repurpose it as mulch for mature plants.
| Quick Fixes | Problem |
|---|---|
| Add perlite | Compacted soil |
| Use a heat mat | Slow germination |
| Sterilize with hydrogen peroxide (3%) | Mold or bacteria |
Wrapping up and next steps
Creating your own organic seed starter soil is a game-changer for gardeners! With the right blend of lightweight loam, compost, and perlite, you’ll give your seedlings the perfect foundation for fast, healthy germination—and who doesn’t love watching tiny sprouts burst through the soil? 🌱
Now that you’re equipped with the knowledge, it’s time to roll up your sleeves and get growing. Start small with a few easy-to-germinate seeds, like herbs or lettuce, and soon you’ll be confidently nurturing tomatoes, peppers, or even flowers. Happy planting! 🌿