
Pests
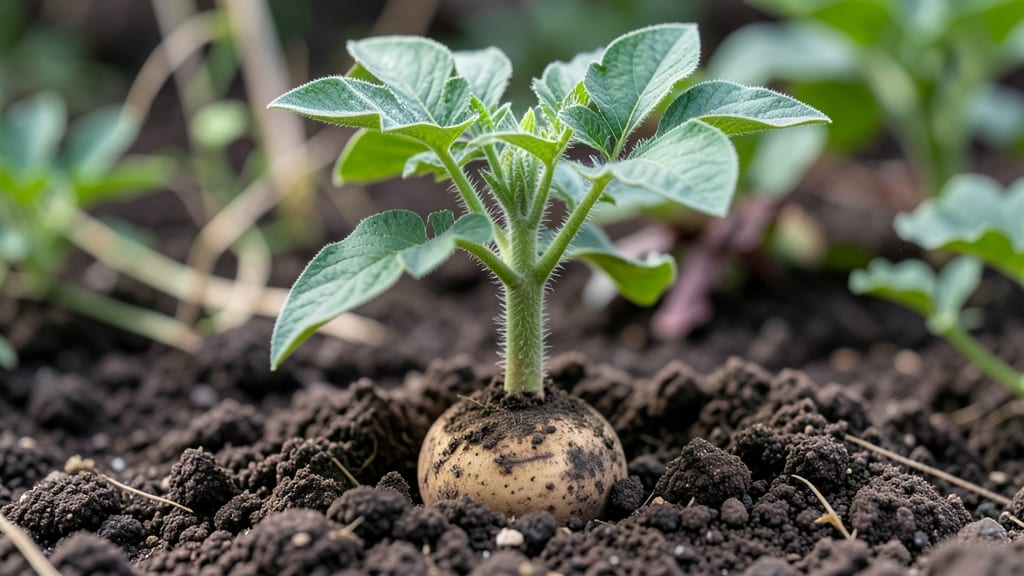
The seed snail method reveals which seeds will sprout before you plant them—no guesswork, just results. 🌱 I’ve tested hundreds of seeds this way, and it’s the only method that actually tells you which ones are worth saving before you commit them to soil.
The spiral pattern maximizes space while keeping seeds organized, and you’ll know in just 7-10 days whether your seeds are viable or not.
This isn’t just a viability test—it’s a zero-waste way to save seeds efficiently. You’ll need a shallow tray, some potting mix, and your seeds (herbs, flowers, or vegetables all work).
The key is the spiral design: it creates even moisture distribution and easy access for checking progress without disturbing the seeds. No fancy tools required—just a flat surface and your hands.
By the end, you’ll have a clear picture of which seeds to plant and which to compost, saving time and resources. The method also works for testing seed treatments or stratification needs, making it a versatile tool for any gardener serious about seed saving.
Plus, the compact setup means you can do this indoors or on a sunny windowsill.
Once you’ve identified your viable seeds, you can move them straight to your garden or seed-starting setup. The process is foolproof for beginners but still valuable for experienced gardeners looking to streamline their seed-saving routine. Here’s how to get started without the usual trial-and-error frustration.
📚 In This Guide
- What you need
- Instructions
- Tips and common mistakes
- Wrapping up and next steps
What you need
- ● Seeds: 10–20 seeds (smaller seeds like lettuce or herbs work best; larger seeds like beans may need adjustments).
- ● Paper towel: 1–2 sheets (unbleached, seed-free, and lint-free for best results).
- ● Plastic bag or airtight container: A quart-sized ziplock bag or a small, clear container with a lid (e.g., a mason jar or Tupperware).
- ● Water: A spray bottle or small cup for gentle hydration.
- ● Pencil or pen: To label your bag/container with seed type and date.
- ○ Ruler or measuring tape (optional but helpful for tracking growth).
- ● Notebook or spreadsheet: To log observations like germination time, seed viability, and notes on sprouting patterns.
- ● Magnifying glass: For closely monitoring tiny sprouts.
- ● Humidity tray or damp sponge: If your environment is very dry, this can help maintain moisture.
- ● Seedling heat mat (for tropical seeds): Speeds up germination for slower-sprouting varieties.
Step-by-step instructions for testing seed viability with the seed snail method
Here's how to check if your seeds are still good to grow—no twist test needed.
🌱 Step 1: Gather Your Seeds and Prepare the Jar
Start by collecting 4-6 seeds from each variety you want to test. Place them in a clean, dry 8-ounce glass jar with a tight-fitting lid. The jar should be about half full—this gives the seeds room to move without getting crushed. If you're testing multiple varieties, label the jar with the seed type and date.
Here's the thing—this method works best with dry seeds. If your seeds feel damp or sticky, spread them out on a paper towel to dry completely before starting. You'll know they're ready when they feel light and brittle between your fingers.
💧 Step 2: Add Water and Seal the Jar
Fill the jar with room-temperature water until the seeds are completely submerged, leaving about ½ inch of space at the top. Seal the lid tightly—you want a completely airtight container. Shake the jar gently to dislodge any seeds stuck to the sides, then give it a final firm shake to mix everything up.
Don't worry if some seeds float at first. The key is that they're all submerged. Place the jar in a spot where you won't disturb it for the next 24 hours. You'll see bubbles forming as air escapes from the seeds—this is normal and a good sign the test is working.
⏰ Step 3: Observe and Assess After 24 Hours
After 24 hours, remove the lid and carefully pour the seeds (and any debris) into a fine-mesh strainer. Rinse them under cool running water to remove any remaining water or sediment. Let them dry completely on a clean paper towel or a seed-saving tray.
Here's what to watch for: viable seeds will sink to the bottom of the jar and feel heavy in your hand. Non-viable seeds will float or feel hollow when shaken. Spread the seeds out on the paper towel and let them dry for another 24 hours before storing or planting. You'll see the difference immediately—good seeds will look plump and firm, while bad ones will feel shriveled or empty.
🌿 Step 4: Store or Plant Your Viable Seeds
Once your seeds are completely dry, store them in a cool, dark place in an airtight container with a desiccant packet to keep moisture out. Label the container with the seed type and the date you tested them. Viable seeds can be stored this way for years, but they'll stay freshest if you plant them within 1-2 years.
If you're ready to grow, plant the viable seeds according to their specific instructions. You'll know they're ready to sprout when you see firm, plump seeds that haven't lost their color or texture. This method saves you time and waste—no more guessing whether your seeds will grow or not!
Tips & tricks for perfect seed snail method results
These little-known tricks will help you get the most accurate viability test every time.
Jar Selection Matters: While any clean, dry jar works, I've found that 8-ounce glass jars with wide mouths make the process easier. The wider opening lets you see the seeds better when shaking and pouring, while glass won't react with water like some plastics might. If you don't have glass, a stainless steel jar works too—just avoid anything that could leach chemicals into your water.
Temperature Tip: Room-temperature water is key—cold water can shock the seeds while hot water might damage their delicate membranes. If your water is chilly, let it sit out for 20-30 minutes before using. The bubbles you see during the 24-hour soak are actually air escaping from the seeds, which is a good sign the test is working properly.
Visual Cues for Viability: After the 24-hour soak, look for these telltale signs: good seeds will sink and feel dense in your palm, while bad ones will float or feel light and hollow. For extra accuracy, gently press each seed between your thumb and forefinger—viable seeds should give slightly but feel firm, while non-viable ones will crush easily.
Storage Wisdom: Once your seeds are dry, store them in a cool, dark place with a desiccant packet to prevent moisture buildup. I like to use small glass jars with tight lids for this—just make sure they're completely dry before sealing. Label each jar with both the seed type and the date you tested them, as this helps track their freshness over time.
Pro Tips for Seed Snail Method
- These little-known tricks will help you get the most accurate viability test every time.
- Jar Selection Matters: While any clean, dry jar works, I've found that 8-ounce glass jars with wide mouths make the process easier.
- Temperature Tip: Room-temperature water is key—cold water can shock the seeds while hot water might damage their delicate membranes.
Frequently asked questions
about the seed snail method—because even the best gardeners have questions! Here are answers to the most common ones to help you troubleshoot and succeed.How long does it take to get results with the seed snail method?
The seed snail method typically yields results within 3–7 days, depending on temperature and humidity. Warmer conditions (70–80°F) speed up the process, while cooler temps may extend it. Check daily for signs of viability or pest activity!
What if my seeds don’t sprout after 10 days?
If no sprouts appear after 10 days, your seeds may be non-viable or too old. Try testing a new batch or storing them in a cooler, drier place. Some seeds (like onions or garlic) take longer—research your specific seed type for accuracy.
Can I reuse the snail or slug for multiple tests?
While you can reuse the snail or slug, it’s best to use a fresh one for each test to avoid cross-contamination or stress on the creature. If reusing, ensure it’s healthy and hasn’t been exposed to pesticides or chemicals.
Are there alternatives if I don’t have snails or slugs?
Yes! Try the paper towel test (moisten seeds between damp paper towels) or the water float test (viable seeds sink). For organic gardeners, earthworms can also indicate seed quality by burrowing near healthy seeds.
What if pests attack my seeds during the test?
If you spot mold, fungus, or insects, discard the seeds immediately—they’re compromised. To prevent issues, use sterilized soil, avoid overwatering, and store seeds in a dry, dark place before testing.
How do I know if my seeds are truly viable vs. just dormant?
Viable seeds will sprout consistently (70%+ germination rate), while dormant seeds may take longer but eventually grow. If no seeds sprout after 2 weeks, they’re likely non-viable. Test a few seeds to confirm!
Wrapping up and next steps
The seed snail method is your secret weapon for ensuring only the best seeds make it to next season’s garden—without the hassle of twisting or guessing!
By harnessing the natural instincts of snails, you’ve got a zero-waste, foolproof way to test viability while keeping your seed stock pure and sustainable. 🌱✨
Now that you’re armed with this simple technique, why not take it further? Try labeling your saved seeds with their germination success rates or share the method with fellow gardeners to spread the joy of low-waste, high-reward seed saving. Happy planting! 🌿