
Picking
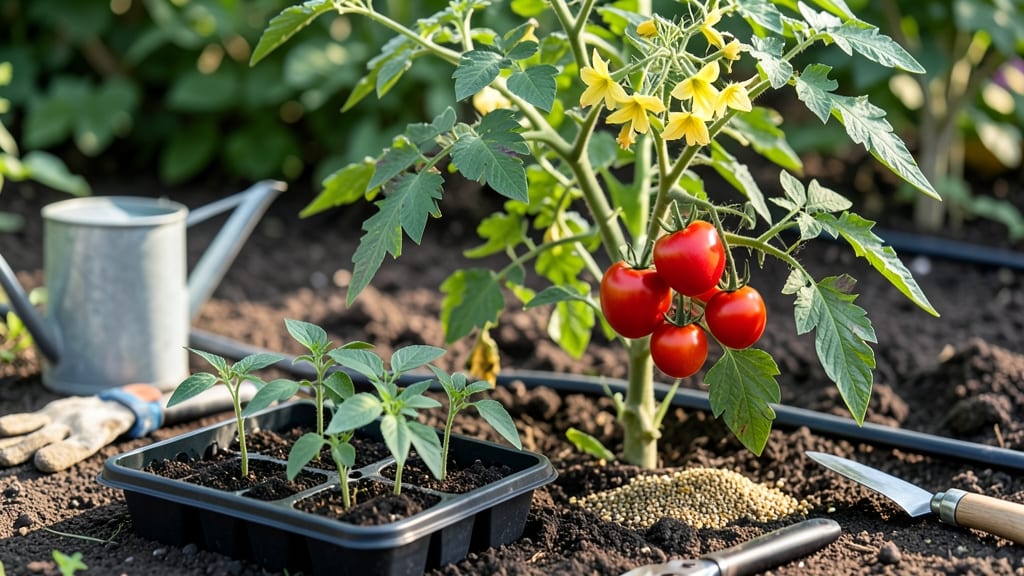
From seed packet to dinner plate, the seed-to-harvest journey transforms tiny specks into life-giving plants—without wasting a single seed. 🌱 I’ve saved hundreds of dollars by mastering this cycle, turning last year’s harvest into this year’s seeds, and every step is easier than it looks.
The key isn’t perfection; it’s understanding how to nurture each phase so nothing goes to waste.
Start with seeds you can save—tomatoes, beans, sunflowers, and herbs like basil or dill are perfect. You’ll need basic tools (a sharp knife, paper towels, and a jar for testing viability), plus a notebook to track which varieties thrive in your space.
The real magic happens when you learn to dry, store, and test seeds so they stay viable for years.
By the time you’re harvesting, you’ll have a system that gives you twice the yield with half the cost. Imagine plucking ripe tomatoes knowing every seed you save will grow another plant next spring.
The process builds soil health, cuts waste, and connects you to the garden’s full cycle—no fancy equipment needed.
Whether you’re growing in pots or a full plot, these techniques adapt to any space. The first harvest will teach you what to refine for the next. Ready to turn seeds into a self-sustaining loop?
📚 In This Guide
- What you need
- Instructions
- Tips and common mistakes
- Wrapping up and next steps
What you need
- ● Seeds: Choose heirloom or non-hybrid varieties (e.g., tomatoes, beans, lettuce, herbs) for viable seed saving. Aim for 1-2 lbs of fresh produce per seed type to ensure enough seeds.
- ● Harvesting Tools: Sharp pruning shears or scissors (for cutting seed heads)
- ● Clean, dry paper towels or newspaper (for drying)
- ● Small mesh bags or envelopes (for seed storage)
- ● Drying Space: A well-ventilated area (e.g., kitchen counter, drying rack) with low humidity (ideal: 40-50% humidity).
- ● Labeling Supplies: Permanent markers or labels
- ● Small jars or containers (for long-term storage)
- ● Seed Processing: Colander (for rinsing seeds)
- ● Fine-mesh sieve (for separating seeds from chaff)
- ○ Food dehydrator (optional, for faster drying)
- ● Storage: Air-tight containers (e.g., glass jars, Mylar bags)
- ● Silica gel packets (to absorb moisture)
Step-by-step instructions for saving seeds the zero-waste way
Here's my foolproof method for collecting, drying, and storing seeds that stay viable for years.
🌱 Step 1: Select and Harvest Mature Seed Pods
Pick seed pods when they've fully matured but before they split open naturally. For tomatoes, wait until the fruit is paper-thin and wrinkled—it should dent slightly when pressed. For peppers, harvest when they turn their mature color and feel firm to the touch. Cut pods from the plant with 2 inches of stem attached; this prevents mold and helps identify varieties later.
Harvest on a dry day or bring pods indoors to dry completely. If moisture remains, seeds will rot in storage. I always work with a small fan nearby to circulate air—this speeds drying and prevents fungal growth. Spread pods on a clean, dry surface like a mesh screen or paper towel, leaving 1 inch of space between each.
💧 Step 2: Dry Seeds Thoroughly Before Extraction
Let pods dry for 1-2 weeks until they feel brittle and crumble easily between your fingers. For large pods like okra or sunflowers, you'll hear them rattle when shaken—this is your signal they're ready. For small seeds like lettuce or basil, pods will turn crisp and brown. If any pod still feels damp, extend drying time by a few days.
Once fully dry, open pods carefully with your fingers or a small knife. Avoid shaking seeds out over a table—some varieties are so tiny they'll scatter everywhere. Instead, place each pod over a clean sheet of paper and gently rub the edges to release seeds. Store the paper with its seeds in an envelope labeled with the plant variety and harvest date.
⏰ Step 3: Test and Store Seeds for Long-Term Viability
Before long-term storage, test a few seeds to confirm they're viable. Place 10 seeds between damp paper towels in a sealed container. Keep them in a warm spot (70-75°F) and check daily. If 50% or more sprout within 7-14 days, your batch is ready for storage. If fewer than half germinate, extend drying time or try a different batch.
For maximum longevity, store seeds in airtight containers like glass jars or resealable bags. Add a small packet of silica gel to absorb moisture, and keep containers in a cool, dark place like a pantry or fridge. Label each with the variety, harvest date, and germination test results. With proper storage, many seeds remain viable for 3-5 years—some, like peas or beans, can last even longer.
☀️ Step 4: Maintain a Year-Round Seed Bank
To ensure a continuous supply, harvest seeds from different plants throughout the growing season. Early-season varieties like radishes or lettuce produce seeds first, while late bloomers like tomatoes or peppers follow. Keep a simple logbook to track harvest dates and germination rates—this helps you plan future plantings for optimal timing.
Rotate your seed stock every few years. Even properly stored seeds lose viability over time, so test a few from older batches each season. If germination drops below 50% after 5 years, replace those seeds. This zero-waste approach saves money and ensures you always have fresh, high-quality seeds ready for planting.
Tips & tricks for perfect seed saving
These little-known tricks will help you maximize seed viability and avoid common pitfalls that waste your hard work.
Harvest Timing is Everything: The 2-inch stem rule isn't just about preventing mold—it's also your best way to identify varieties later. When harvesting tomatoes, look for that paper-thin wrinkled stage; for peppers, the mature color should be consistent across the entire fruit. I've learned the hard way that harvesting too early means immature seeds that won't germinate, while waiting too long risks them scattering naturally. The stem attachment is your fail-safe identifier when you're storing multiple varieties.
Drying Efficiency: That 1-2 week drying window can feel like an eternity, but proper airflow is your secret weapon. I've found that placing pods on a mesh screen with a small fan circulating air cuts drying time by nearly 30%. For large batches, I even set up a makeshift drying rack in my garage during humid days. Watch for that crisp, brittle texture—it's your clear signal the seeds are ready. For small seeds like basil, the crisp brown pods are your cue, not just the time passed.
Germination Test Insight: The 10-seed test in Step 3 isn't just about viability—it's your quality control. When I first started, I'd store seeds based on time alone, only to find poor germination rates. Now I always test 10 seeds first. If fewer than half sprout in 14 days at 70-75°F, I know either the drying wasn't complete or there was an issue with the original pods. This simple test has saved me from storing hundreds of non-viable seeds over the years.
Storage Organization: Labeling with harvest date and germination results isn't just good practice—it's your seed bank's lifeline. I use small glass jars with waterproof labels that I can see through. The germination percentage tells me exactly how valuable each batch is. For example, if I have 90% germination from last year's tomatoes but only 60% from three years ago, I'll prioritize planting the newer batch. This system has helped me maintain a reliable seed supply while knowing exactly which seeds to refresh each season.
Pro Tips for Seed To Harvest
- These little-known tricks will help you maximize seed viability and avoid common pitfalls that waste your hard work.
- Harvest Timing is Everything: The 2-inch stem rule isn't just about preventing mold—it's also your best way to identify varieties later.
- Drying Efficiency: That 1-2 week drying window can feel like an eternity, but proper airflow is your secret weapon.
Frequently asked questions
Got questions about maximizing your seed-to-harvest journey while keeping waste to a minimum?
Here are answers to the most common queries from gardeners and homesteaders alike.
How do I store seeds for year-round viability?
Store seeds in a cool (35–40°F), dry place like a sealed jar or airtight container with silica gel packets. Label with the seed type and date—most last 1–5 years, depending on the variety. For longer storage, freeze seeds in sealed bags with a moisture absorber.
What’s the fastest way to germinate seeds indoors?
Use a mix of 50% peat moss and 50% perlite for drainage, keep soil moist (not soggy), and place trays on a heating mat (70–85°F). Cover with plastic wrap to retain humidity and move to a sunny windowsill once sprouts appear. Pro tip: Pre-soak seeds overnight for faster germination!
Can I save seeds from store-bought veggies?
Yes, but only from heirloom or open-pollinated varieties (avoid hybrids like F1 seeds). Harvest seeds from fully mature, healthy plants, dry them thoroughly, and store in a dark, cool spot. Check local laws—some states restrict seed saving for certain crops.
What do I do if my seeds rot or mold?
Discard contaminated seeds immediately. Sterilize containers with a 10% bleach solution, rinse well, and dry thoroughly. For future batches, use fresh, high-quality soil and avoid overwatering. If mold persists, improve airflow with a small fan during germination.
How do I extend my harvest season without waste?
Use row covers or cold frames to protect plants from early frost. Succession plant heat-loving crops (like tomatoes) every 2–3 weeks. Save seeds from late-season harvests for next year’s garden—just ensure plants are disease-free before saving!
Wrapping up and next steps
From saving seeds to nurturing them into thriving plants, you’ve now unlocked the power of zero-waste gardening year-round! 🌱 Whether you’re a seasoned green thumb or just starting, these techniques prove that sustainability and growth go hand in hand.
Your next step? Start small—pick one seed type to experiment with this season and watch your zero-waste journey bloom!
Pro tip: 💡 Share your harvest with neighbors or local food banks to multiply the impact. Happy growing!