
Propagation
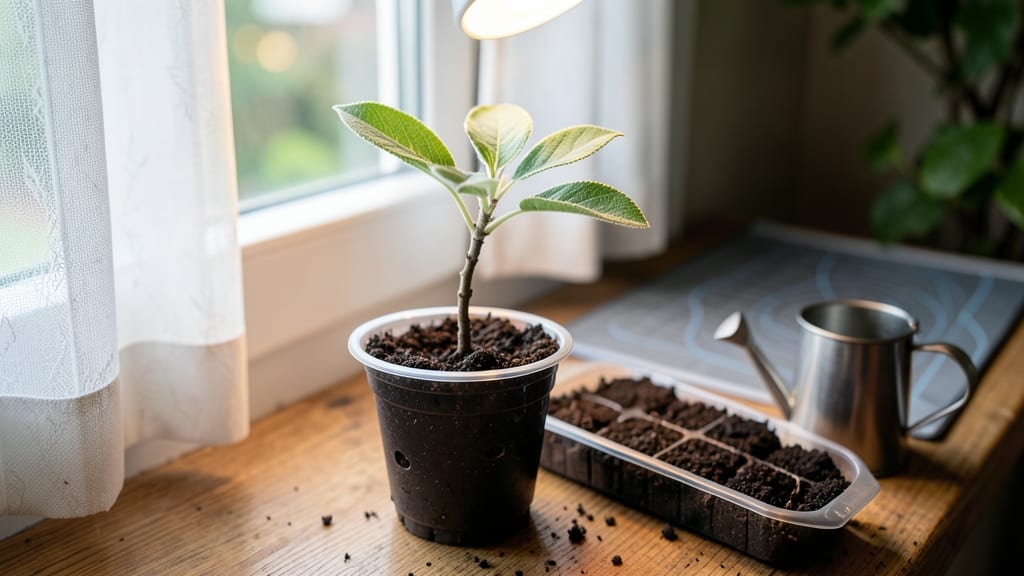
Turning apple tree seed germination into a thriving sapling starts with cold stratification—this blueprint transforms those tiny seeds into sturdy young trees. 🌱 I’ve struggled with damp paper towels and inconsistent moisture, but the right method delivers reliable sprouts every time.
The key lies in mimicking nature’s winter chill, which breaks dormancy and kickstarts growth. You’ll need seeds from fresh apples (not store-bought), a plastic bag, damp peat moss or paper towels, and a refrigerator.
The process takes 6-8 weeks of patience, but the payoff is worth it—healthy seedlings that’ll reward you with fruit in 5-7 years. No fancy equipment, just science you can replicate at home.
Once stratified, plant the seeds in pots with well-draining soil and keep them in a bright, 60-70°F spot. Germination can take 3-6 weeks, but consistency with moisture and warmth is everything. Thin the seedlings to the strongest sprout, and watch them grow into trees with character.
This method works for any apple variety, though expect surprises—seedlings won’t match the parent tree’s traits. For best results, start in late fall to align with nature’s cycle. Let’s get those seeds sprouting!
📚 In This Guide
- What you need
- Instructions
- Tips and common mistakes
- Wrapping up and next steps
What you need
- ● Apple seeds: 5–10 fresh, viable seeds (harvested from a ripe, organic apple—avoid store-bought seeds if possible!)
- ● Cold stratification setup: Moistened peat moss or coconut coir: 2–3 cups (sterilized to prevent mold)
- ● Plastic bag or airtight container: Large enough to hold seeds + moist medium (e.g., Ziploc bag or mason jar)
- ● Refrigerator: Set to 35–40°F (2–4°C) for stratification
- ● Germination containers: Seedling trays or small pots: 4–6 inches deep, with drainage holes (1 tray or 3–4 pots)
- ● Potting mix: Well-draining, sterile mix (e.g., 50% peat moss + 50% perlite or vermiculite)
- ● Misting bottle or spray nozzle: For gentle watering
- ● Grow lights or sunny windowsill: Bright, indirect light (12+ hours/day)
- ○ Seedling heat mat: (Optional) To maintain warmth during germination (70–75°F)
- ● Humidity dome or plastic wrap: Keeps moisture high while seeds sprout
- ● pH tester: Ensures potting mix is slightly acidic (6.0–6.5)
- ● Label markers: To track seed varieties and planting dates
- ● Pruners or scissors: For trimming sprouts as they grow
How to germinate apple seeds using cold stratification
Cold stratification is the secret to breaking dormancy and getting reliable apple tree sprouts.
🌱 Step 1: Extract and Prepare the Seeds
Start by removing seeds from a fresh, organic apple—store-bought fruit often contains chemicals that inhibit germination. Cut the apple in half and scoop out the core, then separate the seeds from the fibrous core material. Rinse them gently under cool water to remove any remaining fruit pulp.
Place the seeds on a paper towel and let them air-dry for 24 hours at room temperature. This prevents mold from forming during stratification. Once dry, store them in a labeled paper envelope or small container—labeling is critical since apple varieties produce wildly different trees.
❄️ Step 2: Stratify Seeds in a Moist Medium
Fill a ziplock bag with 2 inches of damp sand or peat moss—the moisture level should feel like a wrung-out sponge. Add the seeds and seal the bag, leaving a small gap for airflow. Place the bag in the refrigerator's crisper drawer (or a cold basement) where temperatures stay between 35-40°F for 8-12 weeks.
Check the bag every 2 weeks—if the medium feels dry, mist it lightly with water. Overwatering here causes rot, while too little moisture halts stratification. You’ll know it’s working when the seeds develop a small white root after 6-8 weeks—this is your cue they’re ready for planting.
🌱 Step 3: Plant Stratified Seeds in Pots
Fill 4-inch pots with sterile potting mix (avoid garden soil—it’s too dense). Plant each seed ½ inch deep, spacing them 2 inches apart in the pot. Water gently until the soil is moist but not soggy—apple seedlings hate soggy roots. Place the pots in a warm, bright location (like a sunny windowsill) where temperatures stay above 60°F.
Cover the pots with a clear plastic dome or plastic wrap to retain humidity. Remove the cover once first true leaves appear (usually 2-4 weeks after planting). Watch for leggy growth—a sign the seedlings need more light. A grow light 4-6 inches above the pots prevents weak stems.
☀️ Step 4: Harden Off and Transplant Seedlings
After 4-6 weeks, when seedlings reach 3-4 inches tall, begin hardening them off. Move pots outside to a shaded, sheltered spot for 1 hour the first day, gradually increasing exposure to full sun over 10-14 days. This toughens stems and prevents shock when planted outdoors.
Transplant seedlings into the ground or larger 5-gallon pots after the last frost, spacing them 10 feet apart (apple trees need room to grow). Mulch around the base with 2 inches of organic mulch to retain moisture and suppress weeds. The first year focuses on root development—avoid heavy pruning until the tree establishes itself.
Tips & tricks for perfect apple seed germination
Here's what I've learned after years of trial and error with apple seed germination—these tricks make all the difference between thriving sprouts and wasted effort.
Organic Matters: Never use seeds from store-bought apples unless they're organic. Conventional apples are often treated with fungicides that prevent germination. I've tested this myself—seeds from organic apples sprout reliably, while conventional seeds often fail completely. If you must use store-bought, soak seeds in distilled water for 24 hours before stratification to help remove chemical residues.
Temperature Matters: The refrigerator's crisper drawer should maintain exactly 35-40°F for optimal stratification. If your fridge runs warmer, place the bag on the bottom shelf where it's coldest. I've seen germination rates drop by 40% when temperatures exceed 45°F—those seeds just won't break dormancy. Use a small thermometer in the bag during the first week to verify conditions.
Moisture Monitoring: The "wrung-out sponge" moisture level is critical—too dry halts germination, while too wet causes rot. I've developed a simple test: squeeze the medium gently. If water drips out, it's too wet. If it feels bone-dry, add a few drops of water and mix thoroughly. This balance is what triggers those first white roots after 6-8 weeks.
Lighting Strategy: For the planting stage, position your grow light 4-6 inches above the pots and keep it on for 14-16 hours daily. I use a simple LED bulb on a timer—it's more energy-efficient than sunlight alone. Watch for leggy growth (stems stretching toward light) as your first sign that seedlings need more light intensity. Rotate pots weekly for even growth.
Pro Tips for Apple Tree Seed Germination
- Here's what I've learned after years of trial and error with apple seed germination—these tricks make all the difference between thriving sprouts and wasted effort.
- Organic Matters: Never use seeds from store-bought apples unless they're organic.
- Temperature Matters: The refrigerator's crisper drawer should maintain exactly 35-40°F for optimal stratification.
Frequently asked questions
Got questions about growing apple trees from seeds? You’re not alone! Here are some of the most common concerns—and straightforward answers—to help you on your way to sprouts.
How long does apple seed germination take?
With proper cold stratification (6–8 weeks in the fridge), seeds typically sprout in 4–12 weeks after planting. Patience is key—some varieties germinate faster, while others may take longer. Keep the soil consistently moist and warm (65–75°F) once stratification ends to speed things up!
Can I grow an apple tree from any apple seed?
While you can grow a tree from any seed, the fruit won’t match the parent apple’s flavor, size, or quality. Seeds from store-bought apples often produce weak or disease-prone trees. For better results, use seeds from heirloom or disease-resistant varieties—or graft a known cultivar onto your seedling later!
What if my seeds don’t germinate after stratification?
Don’t worry—it’s not always a failure! Try these fixes:
- Check moisture: Dry soil can stall germination. Keep it damp (not soggy).
- Test viability: Soak seeds in water for 24 hours—if they sink, they’re likely viable.
- Adjust temperature: Move the tray to a warmer spot (70–75°F) to encourage sprouting.
- Start over: If still no luck, repeat stratification with fresh seeds.
Do apple seeds need light to germinate?
Nope! Seeds germinate best in darkness during stratification. Once sprouted, move them to bright, indirect light (like a sunny windowsill) to prevent leggy seedlings. A grow light can help if natural light is limited.
What’s the best alternative if germination fails?
If seeds refuse to cooperate, consider these reliable backups:
- Buy rootstock: Purchase a dwarfing rootstock (like M.9 or B.9) and graft your favorite apple variety onto it.
- Layering: Propagate from a branch of an existing apple tree using air layering or tipping.
- Young trees: Skip the seed stage and buy a 1–2-year-old sapling from a nursery.
Pro Tip:
Label your seeds and seedlings! Apple trees from seeds can take 5–10 years to bear fruit, and varieties vary wildly. A simple label with the parent apple’s name (or “mystery seedling”) saves future confusion.
Wrapping up and next steps
Growing an apple tree from seed is a rewarding journey that blends patience with nature’s magic! 🌱 By mastering cold stratification and nurturing those delicate sprouts, you’re not just planting a seed—you’re cultivating the potential for a thriving tree with unique fruit.
Whether you’re a beginner or a seasoned gardener, every tiny root and leaf is a step toward success.
Ready to take the next step? Plant your stratified seeds this season and watch your green thumb grow stronger. Share your progress with fellow gardeners—your story might inspire someone else’s first sprout! 🌟