
Lawn
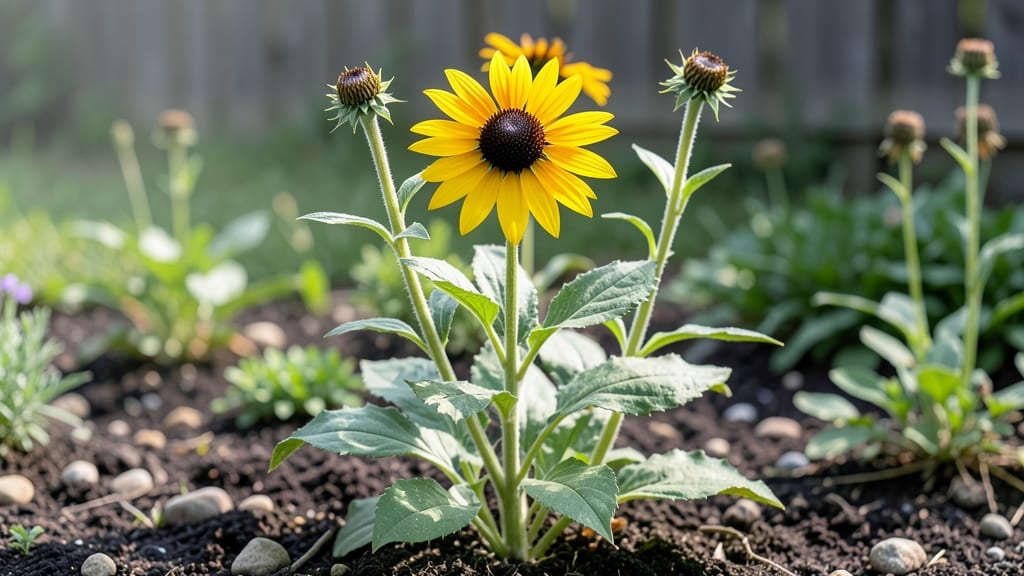
Harvesting black-eyed Susan seed heads the right way means next summer’s blooms arrive twice as abundant—no more struggling to find plants at the nursery. 🌻 I’ve learned the hard way that cutting them back too soon means fewer seeds, and saving them too late means they scatter before you can collect them.
The secret timing and method I’ll share ensures you’ll have a stash of seeds ready for planting by early spring.
You’ll need just a few simple tools: sharp scissors or pruners, a paper bag for collecting, and a sunny spot to dry them out. The best time to harvest is late fall, after the seed heads have turned brown and papery but before they split open.
This usually happens in October or November, depending on your zone. Once you’ve collected them, store the seeds in a cool, dry place until planting season.
What you’ll end up with is a self-sustaining supply of black-eyed Susans—no more buying transplants, just a steady stream of cheerful yellow blooms every year. The dried seed heads also make stunning additions to winter arrangements, adding texture and color to bouquets long after the growing season ends.
Plus, you’ll save money and reduce waste by propagating your own plants.
This method works for both garden beds and containers, making it perfect for gardeners with limited space. Whether you’re a beginner or a seasoned pro, these steps will help you maximize your black-eyed Susan harvest and enjoy their bright blooms for years to come.
Let’s get those seeds ready for next season!
📚 In This Guide
- What you need
- Instructions
- Tips and common mistakes
- Wrapping up and next steps
What you need
- ● Pruning shears or sharp garden scissors – Choose bypass-style (clean cuts) with a 4- to 6-inch blade for precision.
- ● Garden gloves – Opt for nitrile-coated gloves (size medium to large) to protect hands from thorns and dirt.
- ● Brown paper bags or seed envelopes – 1-2 per plant (or more if harvesting multiple seed heads). Use unbleached, breathable paper to prevent mold.
- ● Permanent marker – For labeling seed varieties (e.g., "‘Goldsturm’ – 2024").
- ● Small hand trowel or butter knife – Helps gently scrape mature seeds from dried heads.
- ○ Damp paper towels (optional but helpful) – 1-2 towels to clean seeds post-harvest.
- ● Seed drying tray or screen – Speeds up drying time if you’re impatient like us! (A wire mesh colander works too.)
- ● Fine-mesh sieve – Removes chaff and debris from seeds before storage.
- ● Spray bottle with water – Mist dried heads lightly to loosen stubborn seeds.
- ● Storage jars or airtight containers – Small mason jars (4 oz) with silica gel packets for long-term seed viability.
How to harvest black eyed Susan seed heads without twisting the stems
Here’s my foolproof method for collecting seed heads that keeps stems intact and plants happy.
🌱 Step 1: Wait Until Seed Heads Are Fully Mature
Harvest only when the seed heads turn a deep, papery brown and the tiny black seeds inside rattle when shaken. This usually happens in late fall after the flowers have faded completely. If you pick too early, seeds won’t be viable for next year’s garden.
Check seed heads daily during the last two weeks of the season. You’ll know they’re ready when the center disk looks dry and crumbly. Avoid harvesting on damp mornings—the stems are slippery and more likely to snap.
☀️ Step 2: Choose the Right Time of Day
Work on a bright, sunny afternoon when stems are at their driest. Morning dew or recent rain makes stems brittle, increasing the risk of breaking. If you’ve had recent moisture, wait until the stems feel firm to the touch before harvesting.
I always harvest between 11 AM and 3 PM—this gives stems time to dry out after any overnight dew. The sun also helps stiffen the stems, making them easier to handle without snapping.
✂️ Step 3: Cut Stems at a 45-Degree Angle
Use clean, sharp pruners to cut stems 2-3 inches below the seed head. This prevents the plant from looking ragged and leaves enough stem to support the seed head during drying. A slanted cut also helps water drain away from the base if you’re storing them indoors.
Don’t twist or pull—this is the biggest mistake that snaps stems. Instead, hold the seed head firmly with one hand while making the cut with the other. If you’re harvesting multiple stems, lay them on a flat surface to avoid bending or breaking.
🪴 Step 4: Dry Seed Heads Properly for Storage
Hang seed heads upside down in a well-ventilated, dry area with 50-60% humidity and 65-75°F temperatures. A garage, basement, or even a screened porch works well. Avoid direct sunlight, which can cause seed heads to overheat and dry too quickly.
Check weekly for mold or moisture buildup. If you notice any dampness, move the seed heads to a drier location immediately. Once completely dry (after 2-3 weeks), the seed heads will feel light and brittle, and seeds will easily pop out when rubbed between fingers.
⏰ Step 5: Store Seeds Until Spring Planting
Once dry, remove seeds from their heads by gently rubbing them between your fingers or tapping the heads over a bowl. Store seeds in a paper envelope (not plastic—it traps moisture) labeled with the variety and harvest date. Keep them in a cool, dark place like a pantry or seed drawer.
Seeds stay viable for 2-3 years if stored properly. Before planting next spring, do a quick viability test: soak a few seeds overnight, then plant them in moist potting mix. If they sprout within 7-10 days, your stored seeds are ready for the garden.
Tips & tricks for perfect black eyed Susan seed harvesting
Here's what nobody tells you about making this process foolproof—trust me, these little details make all the difference.
Timing Secret: In Step 1, when checking for maturity, focus on both color AND sound. The seed heads should be a deep papery brown AND make a rattling sound when gently shaken. I've learned the hard way that visual cues alone aren't enough—some years, the color might look right but seeds aren't ready. The rattle test is your best indicator for viability.
Equipment Upgrade: For Step 3, invest in a pair of bypass pruners if you don't have them already. The sharp, clean cut they provide is crucial for preventing stem damage. I used dull scissors for years and kept snapping stems—once I switched to proper pruners, the difference was immediate. Always clean your pruners with rubbing alcohol between cuts to prevent spreading plant diseases.
Drying Strategy: When following Step 4's drying instructions, consider creating a mini drying station. Hang seed heads from a sturdy string in a well-ventilated area, but add a small fan on low setting to circulate air gently. This speeds up drying by about 30% while maintaining the ideal 50-60% humidity. Just avoid direct airflow that could scatter seeds prematurely.
Pro Tips for Black Eyed Susan Seed Heads
- Here's what nobody tells you about making this process foolproof—trust me, these little details make all the difference.
- Timing Secret: In Step 1, when checking for maturity, focus on both color AND sound. The seed heads should be a deep ...
- Equipment Upgrade: For Step 3, invest in a pair of bypass pruners if you don't have them already. The sharp, clean cu...
Frequently asked questions
Got questions about harvesting black-eyed Susan seed heads? You’re not alone!
Here are some of the most common queries—plus quick, actionable answers to help you prep for next year’s vibrant blooms.
When is the best time to harvest black-eyed Susan seed heads?
Harvest seed heads in late fall or early winter (after the first frost) when the stems turn brown and the seed pods are dry but haven’t scattered. Avoid harvesting too early—seeds won’t be fully mature, or too late, when they’ve already released into the wind. Aim for crisp, dry conditions for the easiest collection!
Can I save seeds from black-eyed Susans that grew in my garden?
As long as your plants are healthy and not hybrid varieties (check seed packets), their seeds will grow true to type. Just ensure they’re from open-pollinated flowers—hybrids may not produce the same vibrant blooms. Collect seeds from multiple plants to boost genetic diversity for stronger, hardier flowers next season.
What’s the best way to store black-eyed Susan seeds until planting?
Keep seeds in a cool, dry place (like a paper envelope or breathable bag) in a dark cupboard. Label them with the harvest date—most stay viable for 1–2 years. Avoid plastic containers to prevent mold. For extra freshness, refrigerate them in a sealed container with a silica gel packet.
Why aren’t my seed heads producing viable seeds?
Several factors could be at play: pests (like beetles) may have eaten the buds, poor pollination (lack of bees or wind), or disease (like powdery mildew). Try hand-pollinating with a soft brush if bees are scarce, or choose a sunnier, well-drained spot next time. Healthy plants = better seed production!
Are there alternatives if I can’t harvest seed heads myself?
No problem! Buy open-pollinated seeds from reputable nurseries or seed banks (like Baker Creek Heirloom Seeds). You can also divide mature plants in early spring—just dig up clumps, separate the roots, and replant. For instant color, propagate from cuttings (though it’s trickier for black-eyed Susans).
Wrapping up and next steps
Harvesting black-eyed Susan seed heads is a simple yet rewarding way to ensure next year’s vibrant blooms—without the hassle of twists or tangles! By following the right techniques, you’ll save time, protect your plants, and enjoy a fresh supply of seeds for future gardens.
Whether you’re a seasoned gardener or just starting out, this method makes seed saving effortless and fun.
Ready to put your new skills to work? Grab your gloves, snip those seed heads, and get growing! 🌱 Share your success (or ask questions!) in the comments—we’d love to see your blooming results!