
Lawn
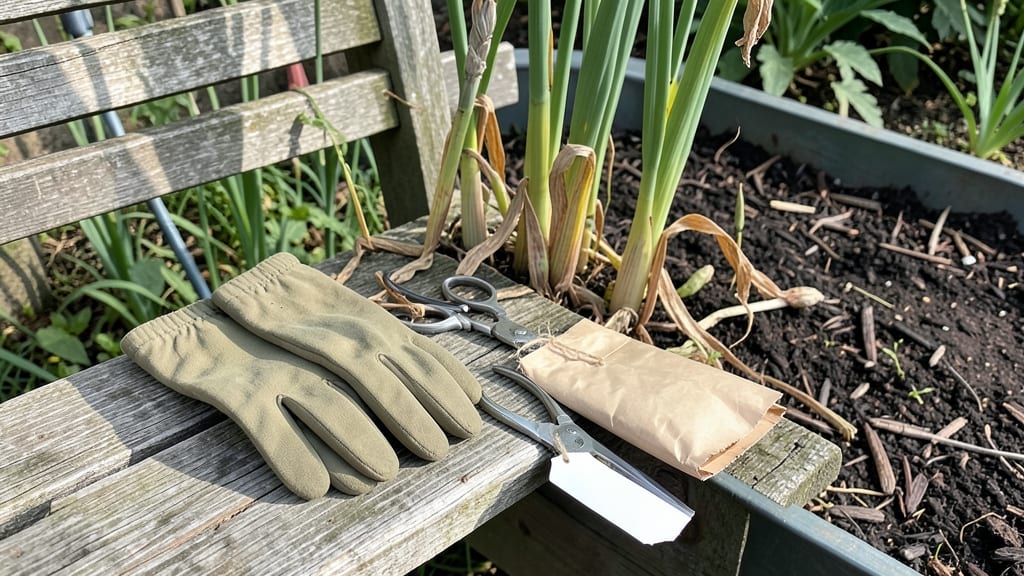
Harvesting gladiolus seed pods turns last year's blooms into next year's garden stars. 🌱 The moment those pods turn from green to golden-brown, they're packed with seeds ready to grow into new plants—no nursery needed.
I've saved seeds from my own garden for years, and the results are always surprising: taller spikes, new colors, and plants that thrive exactly where they're planted.
You'll need just a few supplies: sharp pruners, paper bags for drying, and a flat tray for seed cleaning. The process is simple but requires patience—those pods need to dry completely before opening.
Once they're ready, a single pod can yield dozens of seeds, enough to fill a whole border or share with fellow gardeners. The best part? These homegrown gladiolus often outperform store-bought corms, adapting perfectly to your local conditions.
By late summer, you'll be planting those seeds for next spring's blooms, watching as each tiny seedling grows into a sturdy stalk.
The first flush of flowers might take a season or two to reach full size, but the payoff is worth it—unique varieties that no one else in the neighborhood has. Plus, you'll save money and avoid the disappointment of store-bought corms that fail to thrive.
This method works for any gladiolus variety, including heirlooms and hybrids, though some may not come true from seed. Start with the healthiest, most vibrant blooms for the best results. With proper care, your seed-grown gladiolus will reward you with bold, reliable blooms for years to come.
📚 In This Guide
- What you need
- Instructions
- Tips and common mistakes
- Wrapping up and next steps
What you need
- ● Mature gladiolus seed pods: Wait until the pods turn brown and dry (usually late fall or early winter). Aim for at least 10-15 healthy pods per variety for reliable germination.
- ● Sharp pruning shears or scissors: A clean, sterilized pair (rubbing alcohol wipe works) to snip pods without damaging stems.
- ● Paper bags or breathable mesh bags: Brown paper lunch bags (2-3 per pod) or seed-saving bags to store pods while they dry completely.
- ● Drying tray or flat surface: A wire rack, baking sheet, or cardboard box lined with newspaper to air-dry pods in a cool, dry, shaded spot (avoid direct sunlight).
- ● Small paper envelopes or seed packets: 4x6-inch envelopes (or repurposed tea bags!) labeled with the gladiolus variety and date.
- ● Fine-mesh sieve or sifter: A small kitchen strainer (1-2mm holes) to separate seeds from chaff once pods are fully dry.
- ● Pencil or labeling pen: For marking envelopes with details like “Gladiolus ‘Romeo’ – 2024”.
- ● Desiccant packets: Tiny silica gel packs to speed up drying if you’re in a humid climate (place 1-2 in the drying bag).
- ● Glass jar with lid: For long-term seed storage (add a damp paper towel to maintain humidity if storing >1 year).
- ● Hand lens or magnifying glass: To inspect seeds for viability (plump, firm seeds are best!).
- ● Spray bottle with water: For lightly misting stubbornly dry pods if your climate is very arid.
- ● Notebook or garden journal: To track seed sources, germination rates, and bloom times for future reference.
How to collect and save gladiolus seed pods for next season
Here's how to turn this year's spent blooms into next year's vibrant garden stars.
🌱 Step 1: Identify and Select Healthy Seed Pods
After your gladiolus flowers fade, watch for the seed pods to form—these look like elongated, green bean-like structures developing where the blooms once were. Choose pods from the healthiest, most vigorous plants, as they'll produce the strongest seeds. You'll know they're ready when they turn from green to a pale tan color, usually about 6-8 weeks after flowering.
Gently twist the pod from the stem when it's dry but still intact. If it snaps easily, it's ready. Avoid pods that appear shriveled or discolored, as they may not contain viable seeds. Place them in a paper bag with a few holes for airflow—this prevents mold while allowing the pods to dry completely.
🌿 Step 2: Dry the Seed Pods Properly
Find a warm, dry spot with good air circulation—like a sunny windowsill or a ventilated shelf—to dry the pods for 2-3 weeks. Turn the bag occasionally to ensure even drying. You'll know they're ready when the pods rattle slightly when shaken, indicating the seeds inside have fully matured and dried.
If your climate is humid, speed up the process by placing the pods in a low-heat oven at 120°F for 1-2 hours daily until completely dry. Just be sure to check them frequently to avoid overheating. Overdrying can make the pods brittle and difficult to open, so stop as soon as they feel crisp to the touch.
✂️ Step 3: Extract and Clean the Seeds
Once fully dry, gently squeeze the pods to release the seeds. You'll find small, flat, and slightly winged seeds inside—each one a potential next-season bloom. Spread them out on a clean, dry surface to remove any remaining pod fragments or debris. A fine-mesh strainer works well for this.
For extra cleanliness, place the seeds in a bowl of lukewarm water and swirl gently. Viable seeds will sink to the bottom, while empty or damaged ones will float. Drain and pat the seeds dry with a paper towel before storing. This step ensures you're only saving the best seeds for planting.
🪴 Step 4: Store Seeds for Planting Next Year
Place the cleaned seeds in a small envelope or airtight container with a desiccant packet to absorb moisture. Label it with the gladiolus variety and the year collected—this helps track which seeds are best for replanting. Store the container in a cool, dark place, like a refrigerator vegetable drawer, where temperatures stay around 35-40°F.
Gladiolus seeds remain viable for up to 2 years under these conditions, though they often germinate best when planted within the first year. Check the seeds periodically to ensure they haven't absorbed moisture or developed mold. If stored properly, you'll have fresh, ready-to-plant seeds when spring rolls around.
⏰ Step 5: Plant the Seeds for Next Season
Wait until late spring or early summer, after the last frost and when soil temperatures reach at least 60°F, to plant the seeds. Sow them ½ inch deep in well-draining soil, spacing them 1-2 inches apart. Keep the soil consistently moist but not soggy until germination, which typically occurs in 2-4 weeks.
Once seedlings emerge, thin them to 3-4 inches apart to give each plant room to grow. Gladiolus seeds can be slow to mature, so be patient—you may not see blooms until the second year. However, the wait is worth it for the vibrant, long-lasting flowers they'll produce.
Tips & tricks for perfect gladiolus seed pod preservation
These little-known strategies will help you maximize seed viability and avoid common pitfalls in the drying and storage process.
Timing Secret: The 6-8 week window for pod maturity is critical—don't harvest too early or too late. Early pods won't contain fully developed seeds, while overripe pods may split open naturally. I've found that checking pods every 3-4 days during this period helps catch them at the perfect moment when they snap easily but haven't started cracking open. This ensures you're working with seeds at peak viability.
Drying Strategy: When using the oven method at 120°F, I recommend setting a timer for 1 hour first, then checking the pods. They're ready when they feel crisp but don't crumble at the slightest touch. The key is to avoid overheating—anything above 125°F can damage the seeds inside. For extra safety, place a small bowl of water in the oven to add moisture to the air during drying.
Seed Viability Test: After cleaning your seeds, perform a quick float test before final storage. Place 10-15 seeds in a glass of lukewarm water—any that float within 30 seconds are likely non-viable. This simple test helps you gauge your overall seed quality before committing to long-term storage. I've saved myself many disappointments by doing this step, especially when working with seeds from less vigorous plants.
Storage Wisdom: For maximum longevity, I store my gladiolus seeds in small glass jars with silica gel packets instead of paper envelopes. The glass provides better moisture protection, and the silica gel helps maintain that critical 35-40°F range even if your fridge fluctuates. Label each jar with the variety name and harvest year using a permanent marker—faded labels have caused me to accidentally plant seeds that were too old for optimal germination.
Pro Tips for Gladiolus Seed Pods
- These little-known strategies will help you maximize seed viability and avoid common pitfalls in the drying and storage process.
- Timing Secret: The 6-8 week window for pod maturity is critical—don't harvest too early or too late.
- Drying Strategy: When using the oven method at 120°F, I recommend setting a timer for 1 hour first, then checking the pods.
Frequently asked questions
Got questions about harvesting and saving gladiolus seed pods?
You’re not alone! Here are some of the most common queries—and their answers—to help you master the process like a pro.
When are gladiolus seed pods ready to harvest?
Gladiolus seed pods typically mature 8–12 weeks after flowering. Look for pods that turn brown and papery—they should rattle slightly when shaken (a sign seeds are inside). Harvest them before they split open to avoid losing seeds to birds or wind. Cut pods with 2–3 inches of stem attached for easier drying.
How long does it take for gladiolus seed pods to dry?
Drying takes 2–4 weeks in a cool, dry, well-ventilated spot (like a garage or shed). Avoid direct sunlight or humidity, which can cause mold. Hang pods upside-down in small bundles or lay them flat on a screen. Once fully dry, the pods will be lightweight and brittle—then you’re ready to crack them open!
Can I save seeds from store-bought gladiolus flowers?
Probably not—most commercial gladiolus are hybrids bred for specific traits (like color or size), and their seeds may not grow true to the parent plant. For reliable results, save seeds from open-pollinated varieties grown in your garden. If you’re unsure, ask local nurseries or seed suppliers about heirloom gladiolus options!
What do I do if birds or squirrels eat my seed pods?
Don’t panic! Cover pods with fine mesh netting or a breathable fabric bag once they start drying to deter critters. If pods are already compromised, try hand-pollinating next year by transferring pollen with a paintbrush between flowers. Alternatively, grow gladiolus in containers or raised beds to limit access.
How do I store gladiolus seeds until planting?
Store seeds in a cool, dark, dry place (like a sealed envelope or jar with silica gel packets) for up to 1–2 years. Label them with the variety and date! Before planting, stratify seeds (mix with damp sand and refrigerate for 4–6 weeks) to mimic winter conditions and boost germination rates.
Why aren’t my gladiolus seed pods producing seeds?
Several factors could be at play: lack of pollinators (try hand-pollinating), poor weather (humid or rainy seasons can hinder pollination), or immature plants (wait until flowers are fully open). If pods form but stay green, they may need more time—or the plant might be a sterile hybrid. Keep notes on your plants to troubleshoot next year!
Wrapping up and next steps
Harvesting and drying gladiolus seed pods is a rewarding way to ensure a fresh supply of blooms for next season—and it’s easier than you think! 🌱 By following these simple steps, you’ll not only save money but also connect with the natural cycle of your garden. Ready to try it? Grab those dried pods, plant the seeds, and watch your garden flourish with vibrant gladiolus in no time!
Next step: Start small—try saving seeds from just a few pods this year, and expand as you gain confidence. Happy gardening! 🌸