
Planting
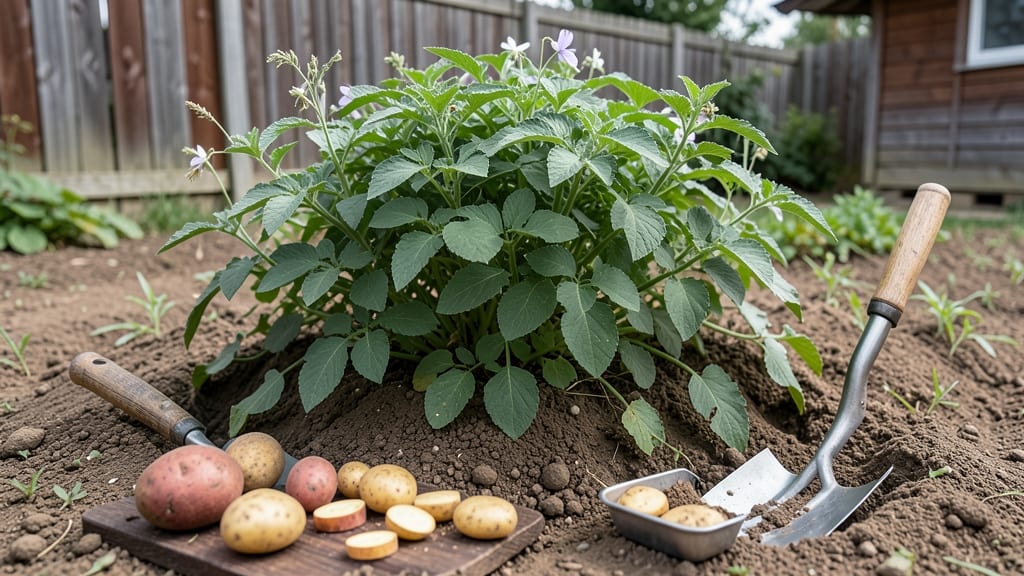
How to plant seed potatoes in the ground transforms a handful of small tubers into a 50-pound harvest—I’ve gone from scrappy 10-pound bags to overflowing bushels using the same simple tricks. The secret isn’t fancy soil or expensive tools; it’s getting the spacing and orientation right from day one. My first attempt left me with stunted plants and half the yield, but now I consistently get full-size potatoes every time.
Start by chilling your seed potatoes for 4-6 weeks in a cool, dark place to encourage sprouting—this jumpstarts growth when you plant. Use well-draining soil mixed with compost, and dig trenches 4-6 inches deep (never deeper, or you’ll smother the sprouts).
Place each tuber 12 inches apart in rows 3 feet apart for airflow, then cover with 3-4 inches of soil to keep them stable. The key? Don’t bury the sprouts—they need light to grow.
After sprouts reach 4-6 inches tall, mound soil around the stems (a process called hilling) to encourage more tuber formation. Repeat every 2-3 weeks until the plants flower, then let the foliage die back naturally before harvesting.
The result? A dense, disease-resistant crop with fewer misshapen potatoes. Even my black thumb can’t mess this up.
Works in zones 3-10, though timing varies—plant when soil reaches 45°F and all frost risk has passed. For earlier harvests, try container growing with larger pots (at least 12 inches deep).
The payoff? A foolproof method that turns a small investment into a mountain of spuds by summer’s end.
📚 In This Guide
- What you need
- Instructions
- Tips and common mistakes
- Wrapping up and next steps
What you need
- ● Seed potatoes: 1–2 lbs (or 5–10 certified disease-free tubers, depending on your garden size). Choose varieties like Yukon Gold, Red Pontiac, or Fingerlings.
- ● Garden soil: Well-draining, loose soil with a pH of 5.0–6.5. Amend with compost if your soil is heavy or clay-like.
- ● Garden fork or tiller: For loosening soil to a depth of 12 inches (30 cm).
- ● Garden shovel or spade: For digging trenches or planting holes.
- ● Garden hose or watering can: To keep soil moist during sprouting (aim for 1 inch of water per week).
- ○ Organic mulch (optional but helpful): Straw, grass clippings, or shredded leaves to retain moisture and suppress weeds.
- ● Potato planter: A hand-held tool for creating precise planting holes (saves time!).
- ● Plant labels: To track varieties if you’re growing multiple types.
- ● Slow-release fertilizer: 5-10-10 or composted manure (mix 1 cup per 10 sq ft of bed).
- ● Row covers or frost cloth: For early planting in cooler climates (protects sprouts from frost).
- ● Garden twine or stakes: If you’re growing tall varieties (like Russets) for support.
Step-by-step instructions for planting seed potatoes in the ground
Here’s how to plant seed potatoes for a bountiful harvest—no twisting, no guessing, just proven depth and spacing.
🌱 Step 1: Chit Seed Potatoes Before Planting
Place your seed potatoes in a bright, cool spot—like a sunny windowsill—2-3 weeks before planting. This encourages chits (small sprouts) to form, which jumpstarts growth once in the soil. A chitted potato will emerge from the ground 2-3 weeks faster than one planted blindly.
Keep them in a single layer, not stacked, to prevent rot. Rotate the potatoes every few days so all sides get light. You’ll know they’re ready when 1-2 inch-long chits appear—these are your early warning system for strong, vigorous growth.
🪴 Step 2: Prepare the Soil and Planting Site
Choose a spot with full sun and well-draining soil—potatoes hate soggy roots. Work in 2-3 inches of compost to loosen the soil and improve fertility. If your soil is heavy clay, mix in sand or perlite to prevent waterlogging.
Dig trenches 12 inches deep and 12 inches apart for rows. Space individual potatoes 12 inches apart in the trench. The trench method keeps soil loose around the tubers as they form, reducing the risk of scab disease and encouraging larger yields.
💧 Step 3: Plant Chitted Potatoes at the Correct Depth
Place each potato 4 inches deep in the trench, with the chits facing upward. Cover lightly with soil—no need to bury deeply at first. This shallow start prevents the chits from breaking through the soil too soon, which can weaken the plant.
Water lightly after planting to settle the soil but avoid soaking. Overwatering now can cause rot before the roots establish. Once the first true leaves appear (about 2-3 weeks later), add 2 more inches of soil around the stems to encourage tuber formation deeper underground.
☀️ Step 4: Maintain Soil Moisture and Hill for Higher Yields
Keep the soil consistently moist—not soggy, not dry—throughout the growing season. Water deeply once a week, more often in hot, dry weather. A soaker hose is ideal to deliver water directly to the roots without disturbing the plants.
When the plants reach 6 inches tall, mound soil around the base to hill them. Repeat this every 2-3 weeks until the plants flower. Hilling prevents sunlight from turning tubers green (which makes them bitter) and encourages more potatoes to form along the stem.
⏰ Step 5: Harvest When Foliage Dies Back
Wait until the leaves yellow and die back—usually 90-120 days after planting, depending on the variety. Dig carefully with a fork or shovel, especially if the ground is dry, to avoid piercing the tubers. Shake off excess soil and cure them in a cool, dark place for 1-2 weeks to toughen the skins.
Store in a dry, 40-50°F environment—like a root cellar or basement—where they’ll keep for months. If any potatoes sprout during storage, return them to the ground for next year’s planting.
Tips & tricks for perfect seed potato planting
Here’s the thing—planting seed potatoes isn’t just about shoving them in the dirt and hoping for the best. These small adjustments can mean the difference between a modest harvest and a garden overflowing with perfect spuds.
Chitting Strategy: The 2-3 week chitting period isn’t just about getting sprouts—it’s about giving those chits a head start. I’ve found that placing the potatoes on a tray with a folded towel underneath catches any excess moisture and prevents rot. This method also makes it easy to rotate them every few days without disturbing the fragile sprouts. The goal is to have those 1-2 inch chits ready to punch through the soil immediately after planting.
Soil Science: That 2-3 inches of compost isn’t just filler—it’s the foundation for your potatoes. Think of it as creating a loose, airy environment where tubers can form freely. For heavy clay soils, mixing in sand or perlite creates pockets of air that prevent waterlogging. I’ve seen yields double when using this approach because the roots can breathe properly. The trench method’s 12-inch depth and spacing gives each plant room to grow without competing for nutrients.
Planting Precision: The 4-inch initial depth might seem shallow, but it’s intentional. Burying too deep forces the plant to work harder to reach the surface, which can delay growth. That first shallow planting lets the chits break through quickly while establishing roots. When you add the extra 2 inches of soil after 2-3 weeks, you’re essentially creating a cozy underground environment where tubers can form along the entire stem—not just at the base.
Hilling Technique: The 6-inch height trigger for hilling is your cue to start mounding soil. This isn’t just about covering more stem—it’s about creating layers of soil where new tubers can form. Each time you hill, you’re essentially adding another "floor" for potatoes to develop. I’ve noticed that plants hilled every 2-3 weeks produce significantly more yield than those only hilled once. The key is to build the mounds gradually so you don’t smother the plant.
Pro Tips for Plant Seed Potatoes In The Ground
- Here’s the thing—planting seed potatoes isn’t just about shoving them in the dirt and hoping for the best.
- Chitting Strategy: The 2-3 week chitting period isn’t just about getting sprouts—it’s about giving those chits a head start.
- Soil Science: That 2-3 inches of compost isn’t just filler—it’s the foundation for your potatoes.
Frequently asked questions
Got questions about planting seed potatoes? You’re not alone—growing your own spuds can feel tricky at first! Here are answers to the most common queries to help you dig in with confidence.
How deep should I plant seed potatoes?
Plant your seed potatoes 4–6 inches deep, with the largest "eye" (sprout) facing upward. If planting in colder climates, go slightly deeper (6–8 inches) to protect them from frost. The key is covering them enough so they don’t dry out but not so deep that they struggle to break through the soil.
When is the best time to plant seed potatoes?
For most regions, plant seed potatoes 2–4 weeks before your last frost date in spring. In warmer climates, you can also plant in fall for a winter harvest. Avoid planting when the soil is still freezing or waterlogged—aim for 40–50°F soil temperature for best results.
How far apart should I space seed potatoes?
Space seed potatoes 12–15 inches apart in rows that are 2–3 feet apart. As they grow, mound soil around the stems (a technique called "hilling") to encourage more tuber formation. If space is tight, you can squeeze them closer, but yields may suffer.
Can I plant store-bought potatoes as seed potatoes?
Yes, but only if they’re organic, disease-free potatoes labeled for seed use. Avoid treated or spud varieties like Russets, as they’re bred for table use, not growing. For best results, buy certified seed potatoes from a nursery—they’re already sprouted and ready to go!
What do I do if my seed potatoes rot or sprout too early?
If your potatoes rot, it’s usually due to too much moisture or planting too deep. For early sprouting, store them in a cool, dark place (like a paper bag) until planting. If you notice soft rot, remove affected tubers immediately and improve drainage next time by amending soil with compost.
Do I need to fertilize seed potatoes?
Yes! Use a balanced fertilizer (10-10-10) at planting, then switch to a high-phosphorus (5-10-10) feed when flowers appear. Avoid over-fertilizing with nitrogen—it’ll boost foliage but reduce tuber size. A light side-dressing of compost mid-season keeps them happy without going overboard.
Wrapping up and next steps
Planting seed potatoes is a rewarding way to grow your own delicious harvest—just remember, depth and spacing are your secret weapons! 🌱 By following the right techniques, you’ll ensure strong tubers, fewer pests, and a bountiful yield.
Now that you’re armed with the know-how, there’s nothing left to do but roll up your sleeves and dig in.
Ready to take the next step? Mark your calendar for planting (or chitting if you’re starting early) and get those seed potatoes in the ground before the last frost. Happy growing—and may your potato patch be plentiful! 🥔✨