
Lawn
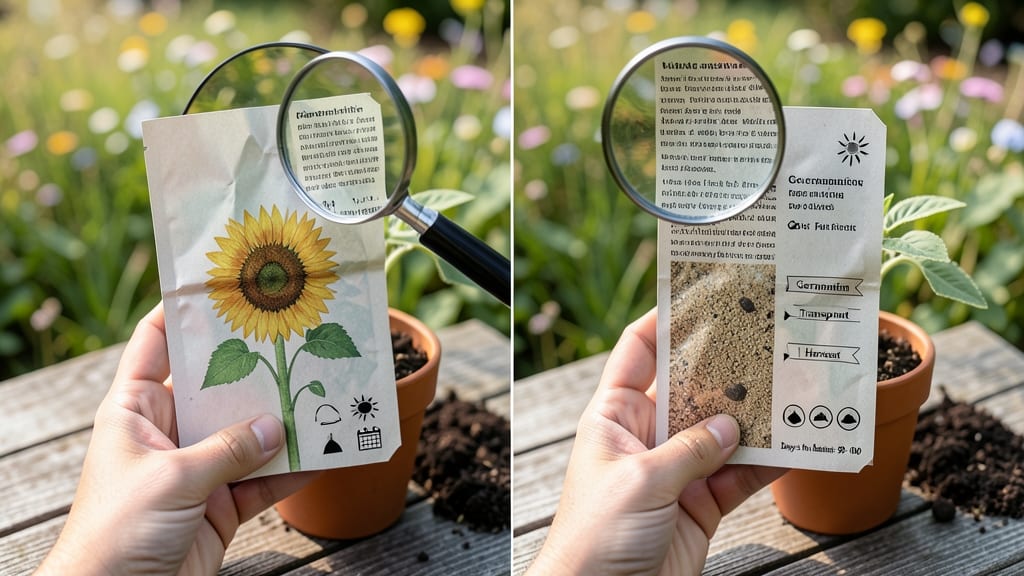
The back of a seed packet holds the secret to turning scraps into next year’s garden gold. 🌱 I’ve saved seeds for years, and the little print there tells you exactly how to grow the same plants—no guesswork.
It’s like having a gardening cheat sheet for heirloom tomatoes, fragrant basil, or drought-resistant flowers. You’ll find planting depth, spacing, sunlight needs, and soil type—all coded in simple terms like "full sun" or "moisture-retentive."
That tiny "60 days to harvest" number means you’ll be picking fresh veggies by mid-July if you start now. The symbols for succession planting or companion plants are just as important as the words. Most gardeners overlook the "days to maturity" or "hardiness zone" notes—those are your roadmap to timing.
A quick scan tells you when to start indoors, how far apart to space seeds, and even how to save seeds from your best plants. It’s all there, waiting to be decoded. This isn’t just about growing plants—it’s about growing a smarter garden.
Save those packets, and you’ll never waste another seed again. Let’s break it down step by step.
📚 In This Guide
- What you need
- Instructions
- Tips and common mistakes
- Wrapping up and next steps
What you need
- ● Seed packets – Any variety you’re saving or replanting (aim for at least 3-5 to compare growth patterns).
- ● Sharpie or fine-tip marker – For labeling saved seeds (waterproof ink preferred!).
- ● Small envelopes or paper bags – 3-5 (resealable or tied shut).
- ● Ruler or measuring tape – For spacing guidelines (12–36 inches, depending on plant type).
- ● Notebook or digital notes app – To log plant details (height, days to maturity, sunlight needs).
- ○ Magnifying glass (optional) – Helps read tiny print on older packets.
- ● Scissors – For trimming packet edges if storing long-term.
- ● Humidity pack (silica gel or rice in a sock) – Keeps seeds dry in envelopes (1 per 5 packets).
- ● Pruning shears – For harvesting mature seed heads (sterilize with rubbing alcohol!).
- ● Basic knowledge of plant life cycles (e.g., when to harvest seeds vs. eat the veggie!).
- ● Access to a sunny, well-ventilated drying area (or a dehydrator).
- ● Patience! Some seeds (like tomatoes 🍅) take 6–8 weeks to fully mature.
How to read and save seeds from the back of a seed packet
Here's how to decode those tiny details and turn this year's harvest into next year's free plants.
📜 Step 1: Find the Key Information on the Packet
The back of every seed packet contains a goldmine of data—start with the days to maturity listed under each variety. This tells you exactly when to expect harvests, which helps plan your seed-saving schedule. Look for harvest instructions too—these often include specific signs like "when pods turn brown" or "when flowers wilt."
Next, find the plant spacing and row spacing recommendations. These numbers aren't just for planting—they tell you how much room mature plants need, which is crucial for saving seeds successfully. If you're growing in containers, these measurements help determine pot sizes too. I always circle these numbers with a highlighter so I don't miss them later.
🌱 Step 2: Identify Seed-Saving Varieties
Not all seeds can be saved—look for terms like "open-pollinated", "heirloom", or "non-hybrid" on the packet. These are the only varieties that will grow true to type (meaning next year's plants will look like this year's). Hybrid varieties often produce seeds that won't grow into the same plant, so skip those for saving.
If you're unsure, check for a seed-saving logo or a note saying "suitable for seed saving." Some packets even include a simple seed-saving guide—these are your best bet for beginners. I always make a note in my garden journal if a variety is seed-saving or not, so I don't accidentally try to save hybrid seeds later.
📝 Step 3: Plan Your Seed-Saving Strategy
Use the days to maturity to determine when to let plants bolt (send up flower stalks) for seed production. For example, if a tomato matures in 70 days, I let a few plants go to seed after about 80 days to ensure full development. Write these target dates in your garden planner now so you don't forget.
Check for pollination notes—some plants like squash and cucumbers need to be isolated from other varieties to prevent cross-pollination. The packet might say something like "isolate 100 feet from other varieties." This is critical for maintaining pure strains. I always mark these distances on my garden map to avoid mistakes.
⏰ Step 4: Harvest and Store Seeds Properly
When the time comes, harvest seeds at the optimal stage listed on the packet—usually when pods dry completely or flowers wilt. For example, tomato seeds are ready when the fruit is fully ripe and begins to rot slightly. Remove seeds and ferment them in water for 2-3 days to clean them naturally, then dry on a paper towel.
Store dried seeds in a cool, dark place (like a sealed envelope in your freezer) for long-term viability. The packet might suggest a storage life—for example, "seeds remain viable for 3 years." Label each packet with the variety name and year saved so you don't mix them up. I use small ziplock bags with a permanent marker for this—it's simple and effective.
🌿 Step 5: Test and Refine Next Year
When you plant saved seeds the following year, compare the results to the original packet description. Note any differences in growth habit, flavor, or yield—this helps you refine your seed-saving process. If plants don't perform as well, you might need to adjust isolation distances or harvest timing.
Share your findings with other gardeners! Some packets include a community seed-saving section where you can note your experiences. This collective knowledge helps everyone improve their techniques. I always jot down what worked (and what didn't) in my garden journal—it's become my most valuable resource over the years.
Tips & tricks for mastering seed packet Secrets
These little-known strategies will turn your seed packets into a gardener's treasure map.
Harvest Timing is Everything: Pay close attention to those days to maturity numbers—this is your planting and seed-saving roadmap. For example, if a variety matures in 70 days, I start letting a few plants bolt around day 80 to ensure full seed development. Mark these dates in your garden planner now so you don't miss the perfect window. The difference between viable seeds and wasted plants often comes down to these precise timing cues.
Visual Cues Over Guesswork: Never rely on memory alone—look for the harvest instructions on the packet that describe specific visual cues like "when pods turn brown" or "when flowers wilt." I've learned this the hard way after harvesting seeds too early and getting poor germination. For tomatoes, wait until the fruit begins to rot slightly—this signals the seeds are fully mature and ready for saving.
Isolation Matters More Than You Think: Those pollination notes about isolation distances (like "100 feet from other varieties") aren't just suggestions—they're critical for maintaining pure strains. I use colored flags on my garden map to mark isolation zones, and I've seen dramatic differences in seed purity when I follow these guidelines versus when I don't. This is especially important for plants like squash and cucumbers that cross-pollinate easily.
Storage Secrets for Long-Term Viability: When storing your dried seeds, think beyond the fridge. I've found that seeds stored in the freezer maintain viability for up to 10 years (far beyond the typical 3-year recommendation). Use small ziplock bags with permanent marker labels—this keeps them organized and prevents moisture buildup. The key is complete dryness and darkness, which is why I always let seeds dry thoroughly on paper towels before storing.
Pro Tips for Back Of A Seed Packet
- These little-known strategies will turn your seed packets into a gardener's treasure map.
- Harvest Timing is Everything: Pay close attention to those days to maturity numbers—this is your planting and seed-sa...
- Visual Cues Over Guesswork: Never rely on memory alone—look for the harvest instructions on the packet that describe ...
Frequently asked questions
Got questions about maximizing your seed packet’s potential? You’re not alone! Here’s a quick guide to the most common queries—because every gardener deserves a thriving harvest without the waste.
What does the “days to maturity” mean on the back of a seed packet?
The “days to maturity” tells you how long it takes from planting to harvest. For example, if a packet says 60 days, count backward from your first frost date to plan when to sow. Pro tip: Adjust for your climate—shorter seasons may need faster-maturing varieties!
Can I save seeds from store-bought veggies or herbs?
Yes, but check the back of the seed packet first! Heirloom or open-pollinated varieties are safe to save. Hybrid seeds (like many store-bought tomatoes) won’t grow true to type. Always label saved seeds with the year and variety to avoid mix-ups.
What’s the best way to store leftover seeds?
Keep seeds in a cool, dry place (like a sealed jar in the fridge) for up to 5 years. The back of the packet often includes storage tips—follow them! For extra freshness, add a silica packet to your container.
Why did my seeds sprout but then die?
Common culprits: overwatering (roots need air!), poor drainage, or temperature swings. Check the packet’s planting depth and spacing—too deep or crowded seeds struggle. If soil feels soggy, mix in perlite or sand.
Are there eco-friendly alternatives to seed packets?
Use recycled paper envelopes, seed paper (embedded with wildflower seeds), or even repurpose old greeting cards. Just ensure they’re moisture-resistant. Bonus: Decorate them for a zero-waste, creative touch!
Wrapping up and next steps
The back of a seed packet isn’t just fine print—it’s your gardening roadmap!
From saving seeds to planning next year’s harvest, these tiny details hold big potential for zero-waste, sustainable growing. 🌱 Whether you’re a seasoned green thumb or a curious beginner, every packet holds a secret to extending your garden’s life—and your connection to the earth.
Ready to put those seeds to work? Start by collecting your saved seeds and organizing them by variety. Then, dive into next season’s planting schedule—your future garden (and wallet) will thank you! 🌿